The story of stainless steel panniers from recycled sinks and troughs
Obtanium engineering
I love making things with my hands and particularly from junk or otherwise unvalued resources. I have come to refer to this as “obtanium engineering”, a term I have shamelessly appropriated.
A good rubbish tip where you can scavenge for…obtanium is such a resource and I am lucky enough to have grown up in a town with an exceptionally well stocked tip. Obviously it would be better if these things were never thrown away in the first place and perhaps through my obtanium engineering I will inspire others to see value and function in their waste.
I love the mental exercise of looking at a pile of waste and isolating useful elements from which I then mentally design and construct something. Once I successfully complete this process I dive into the pile and extract the elements of my newly designed project, leaving behind the remaining resources that I have not yet found a use for.
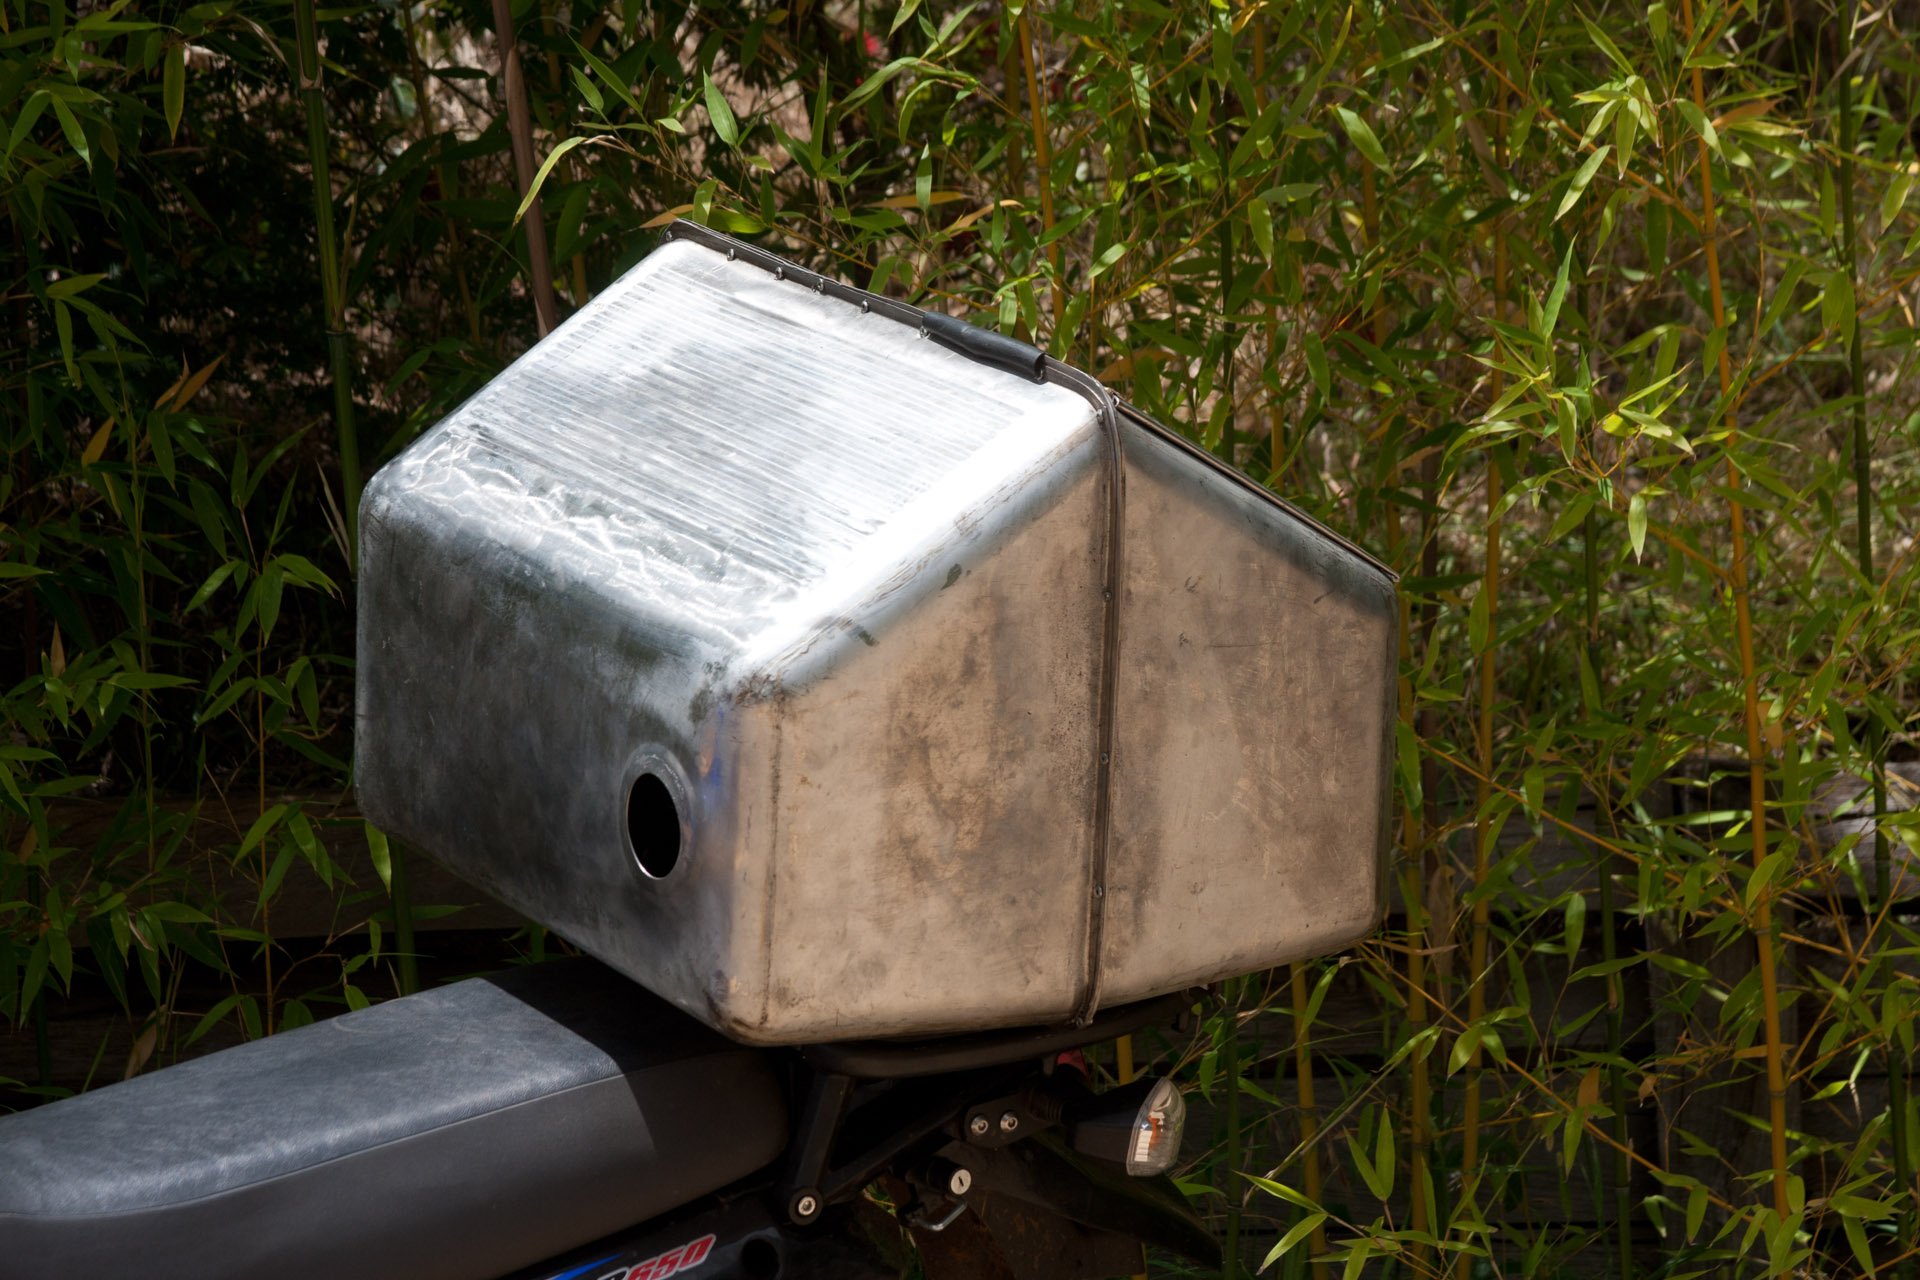
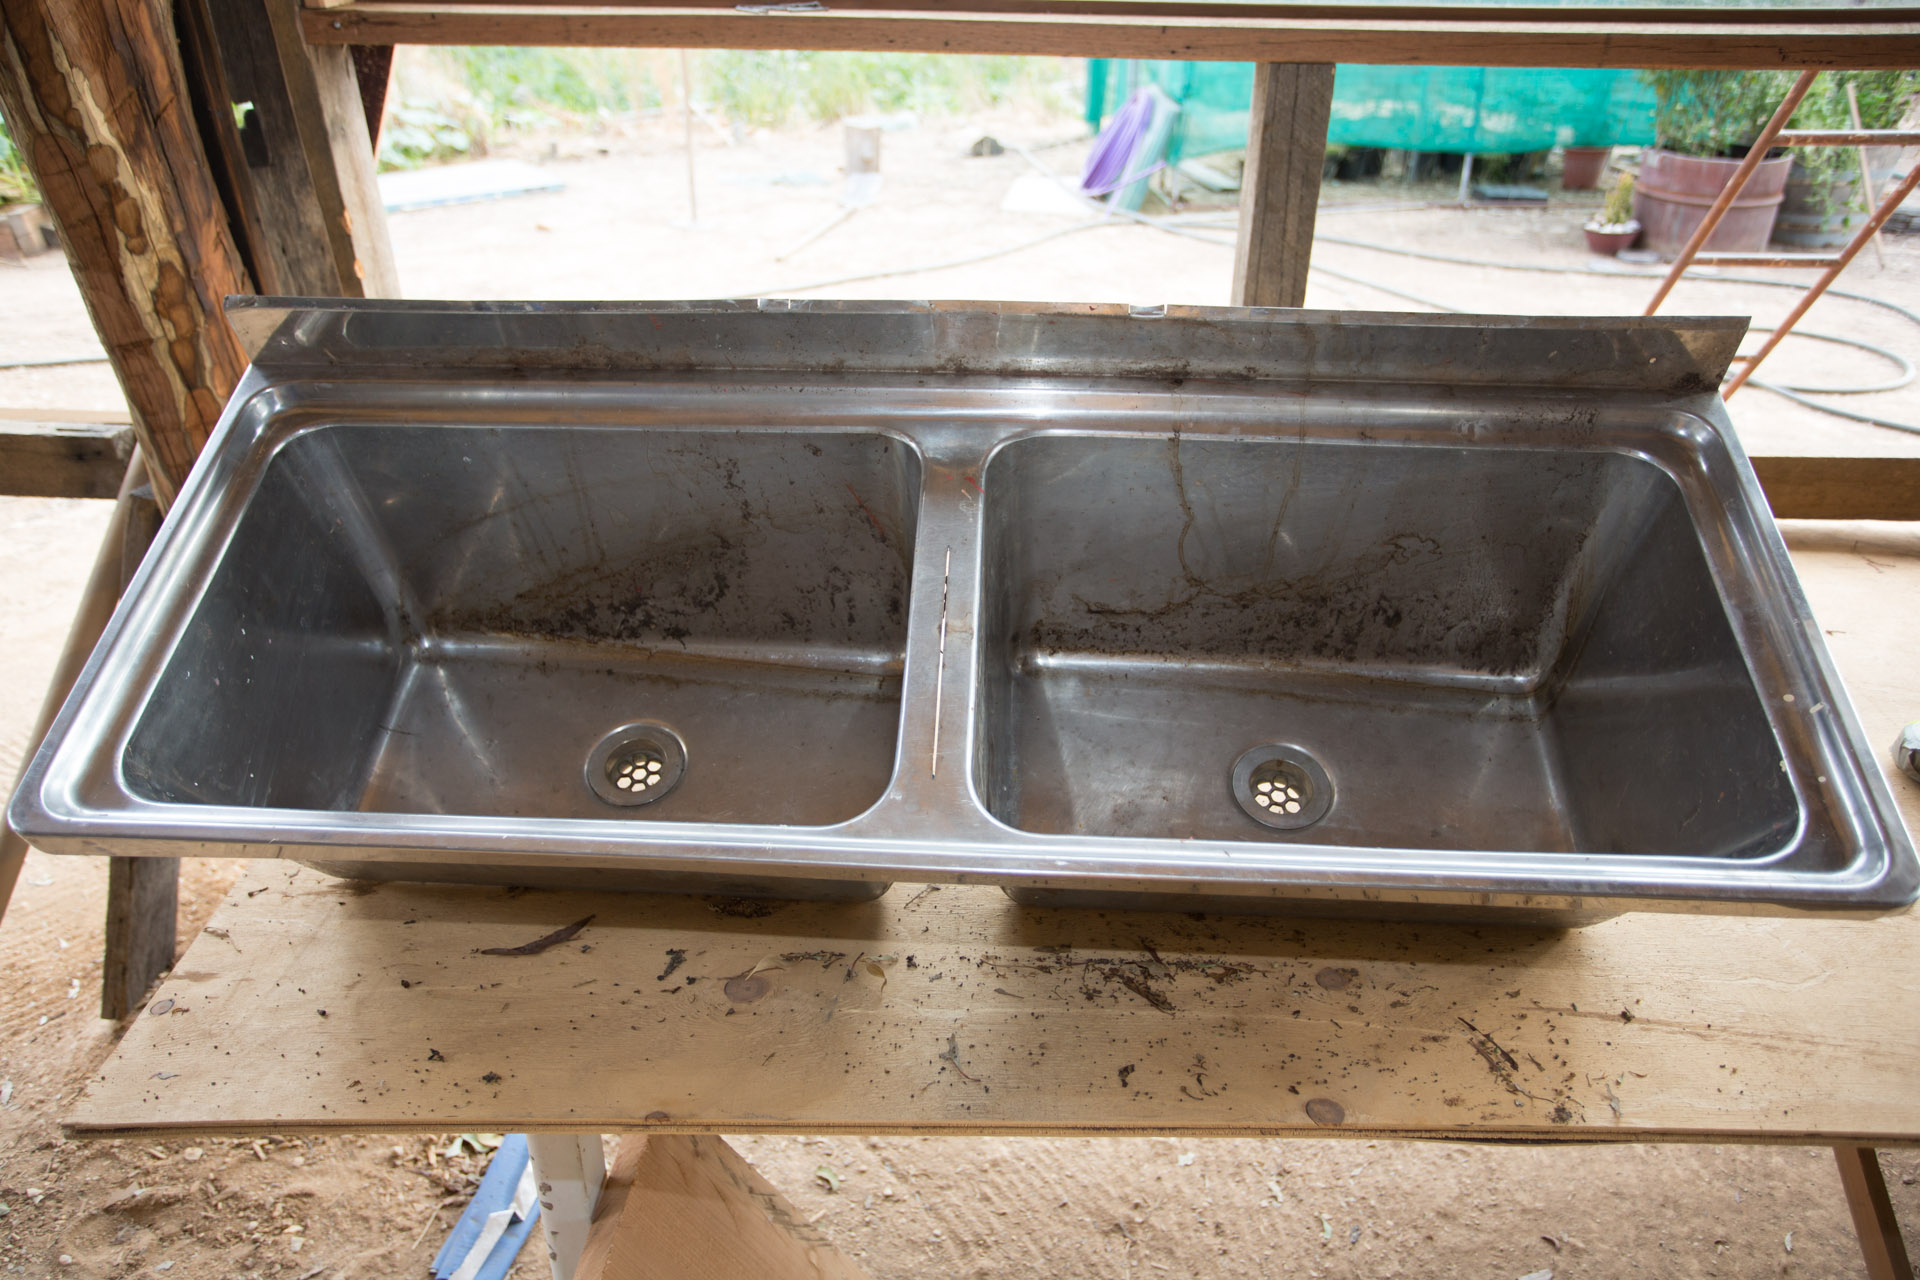
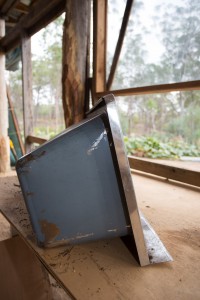
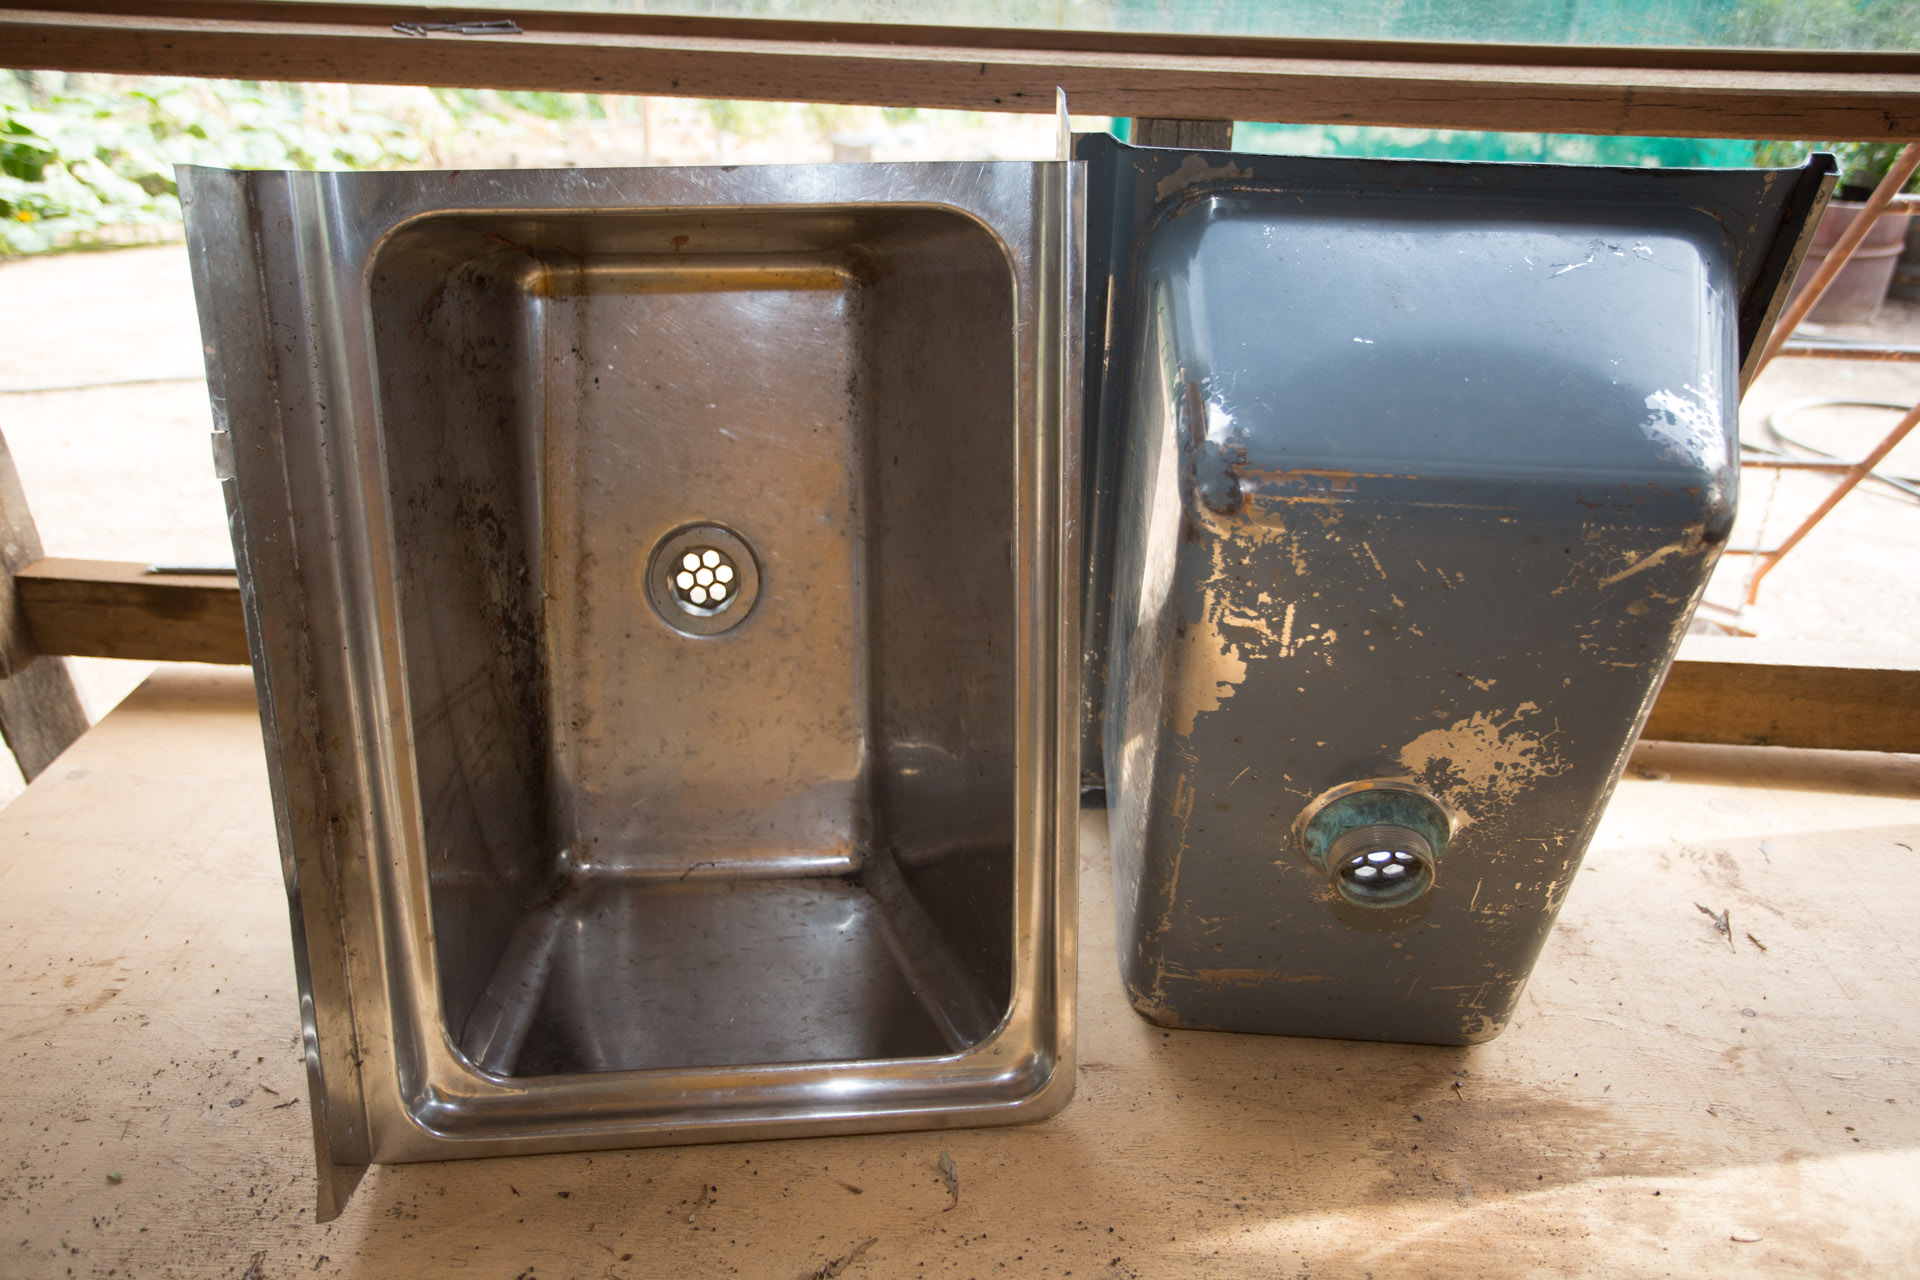
On one such excursion to the local tip I was standing for quite some time admiring stainless steel sinks. It struck me that these sinks were greatly valuable…for something, apart from the obvious. There are only so many sinks and wash troughs one needs. What other uses were there? Cutting them up for sheet stainless was one use but it wasted much of the value present in the sink both in leftover small offcuts and by not using the form of the sink it self.
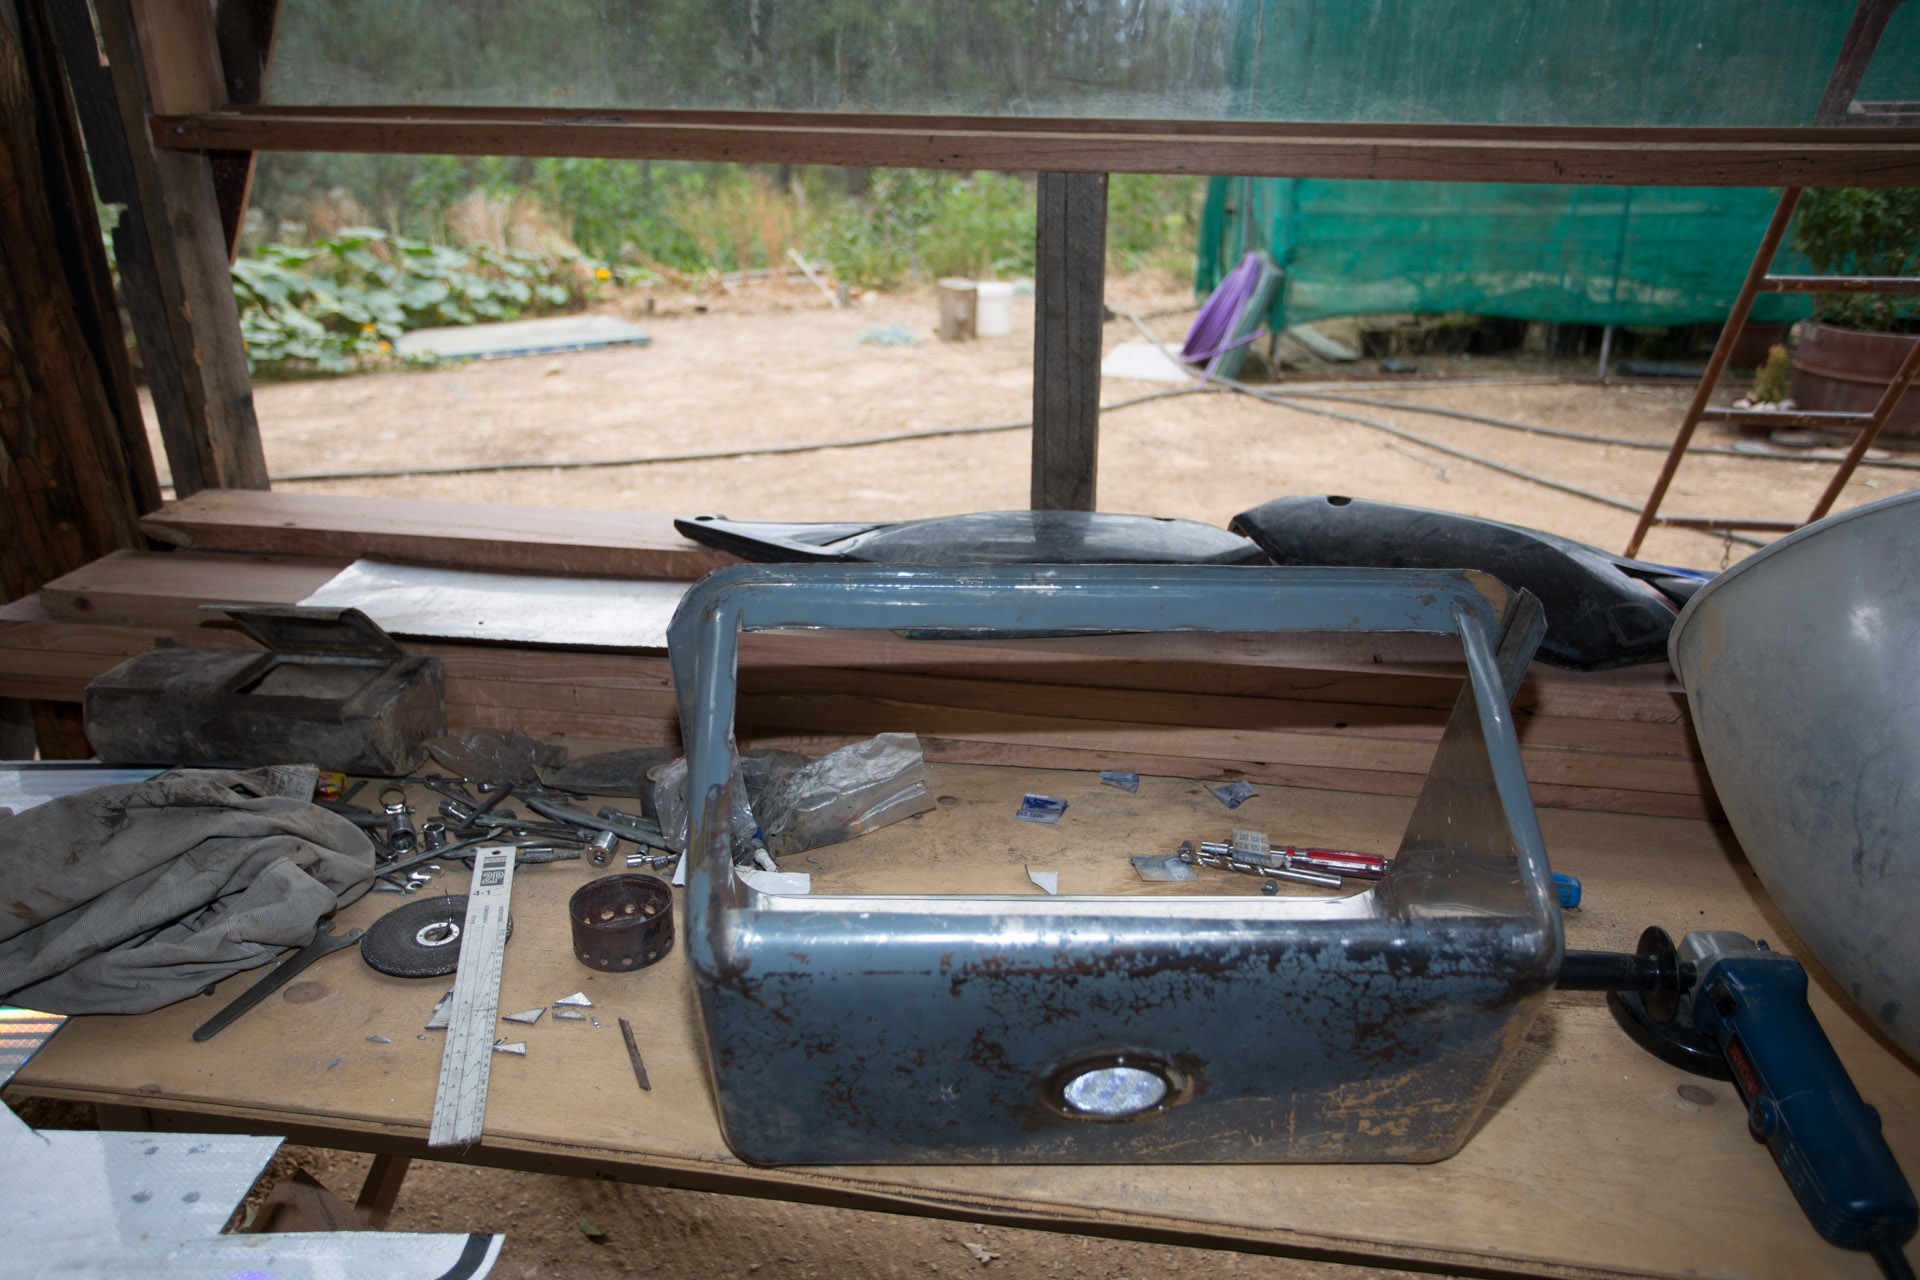
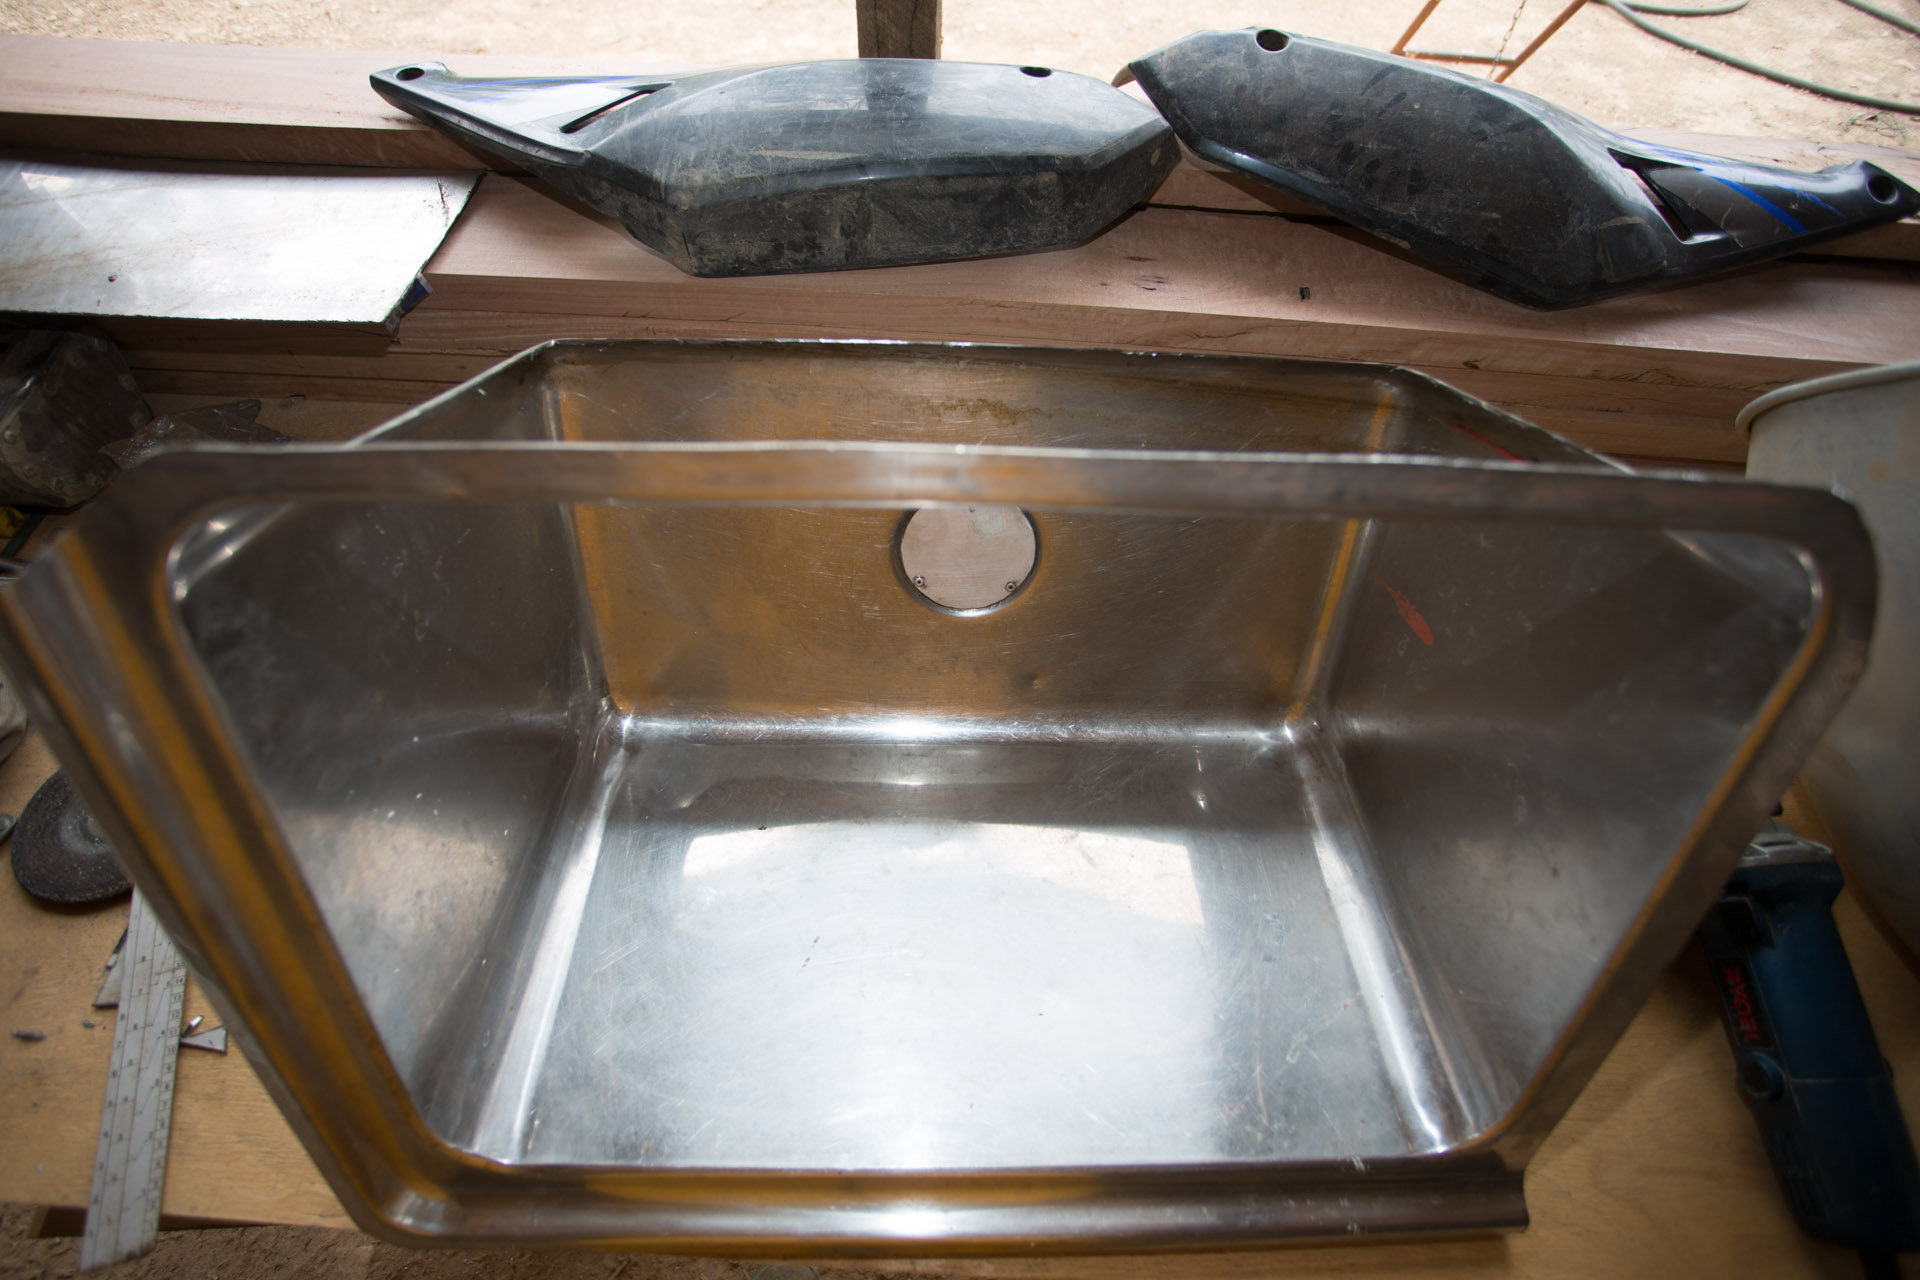
One idea I came up with was panniers. I ran with the idea and, as usual, began construction without an exact or complete design. I build a basic concept and some of the detail in my mind and then problem solved on the fly when faced with construction challenges.
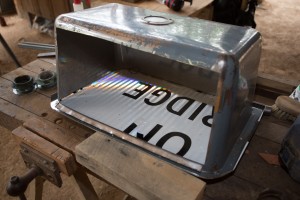
The Sunken Luggage System
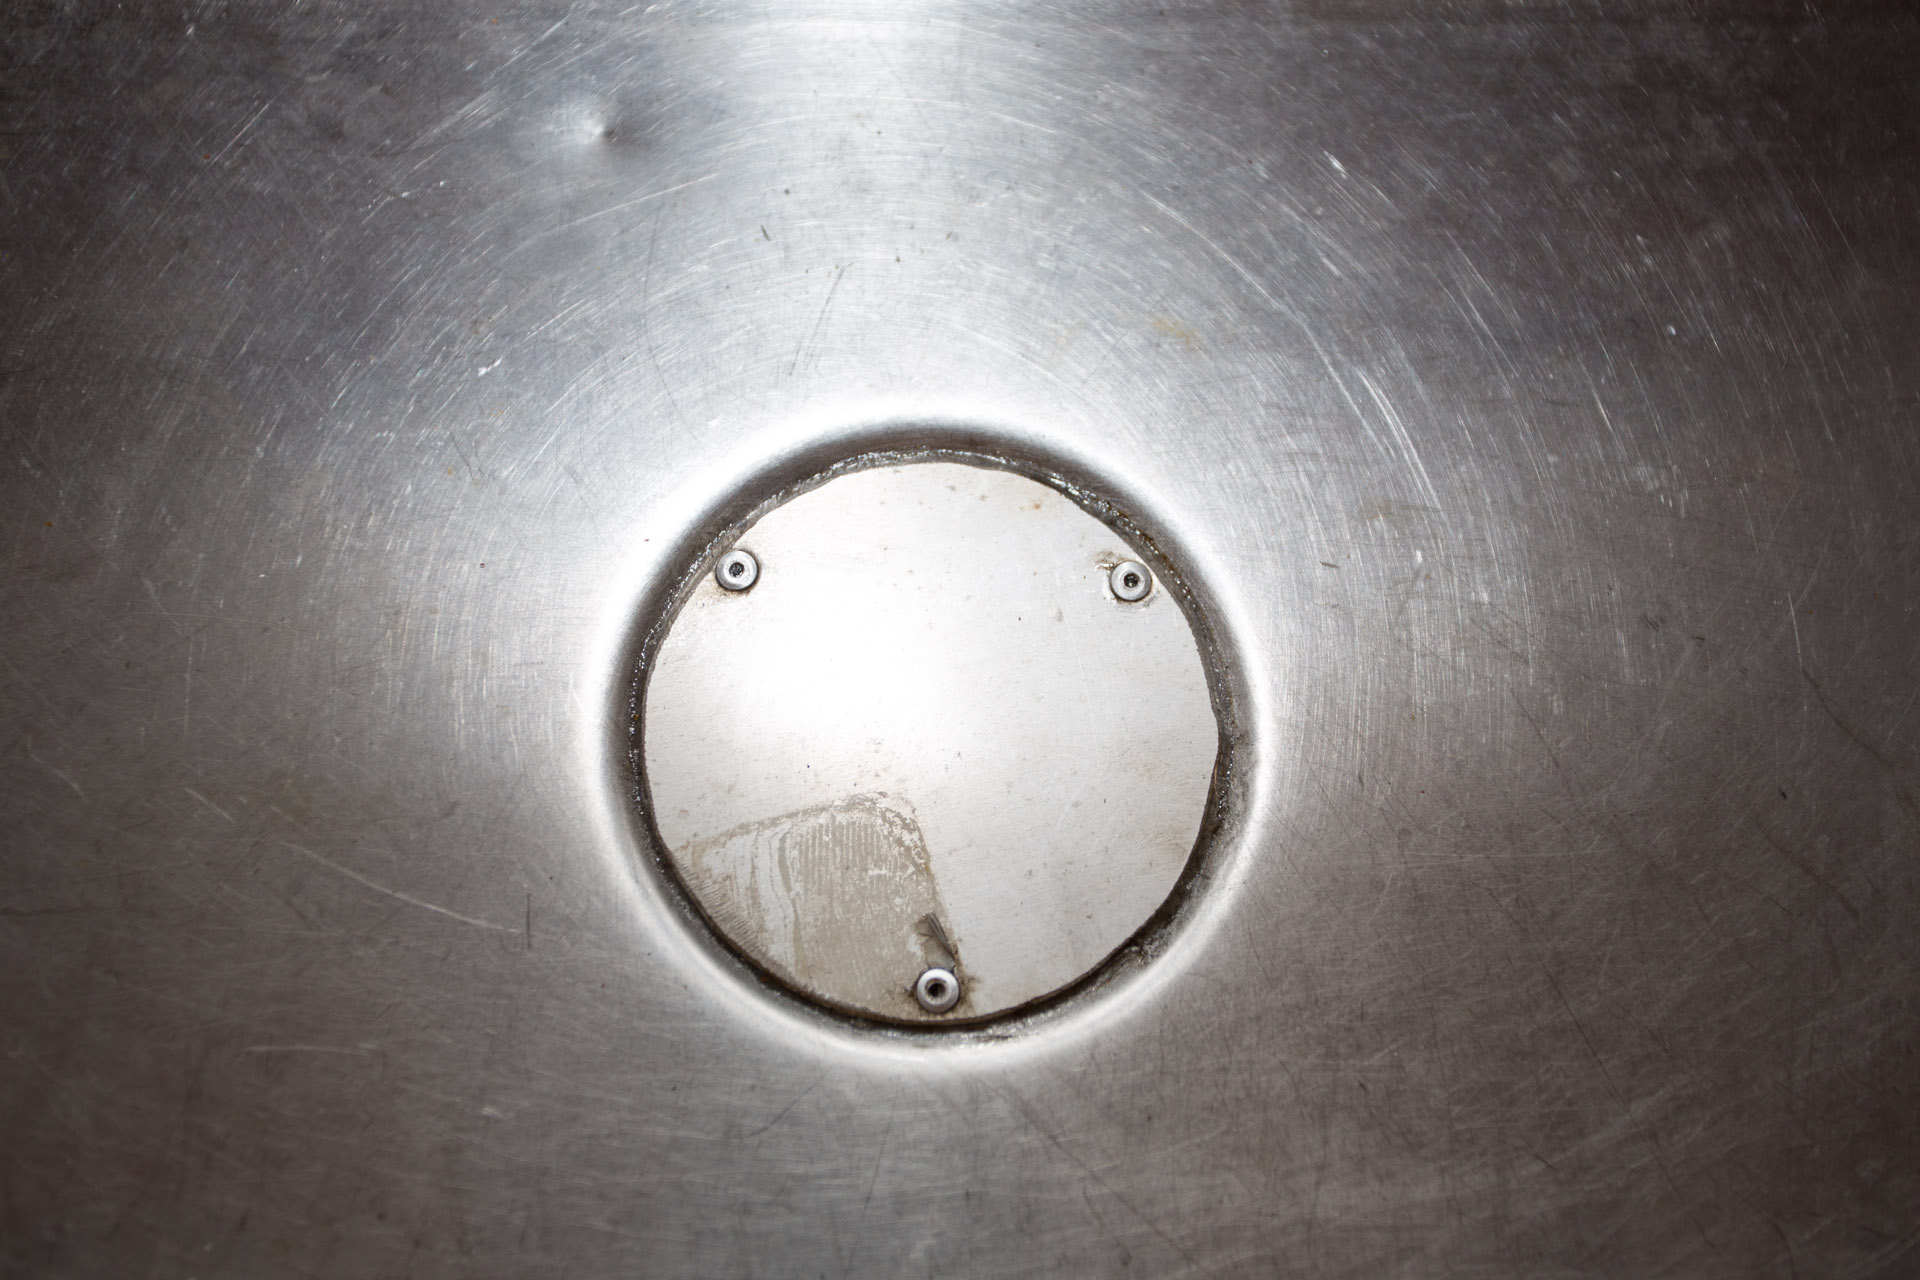
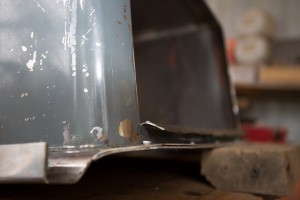
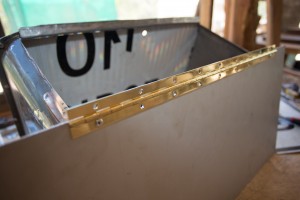
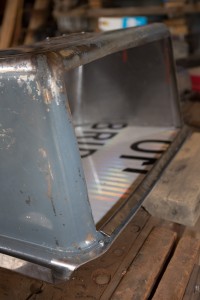
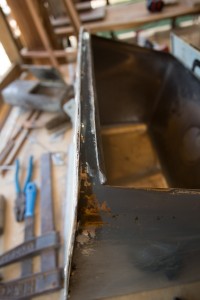
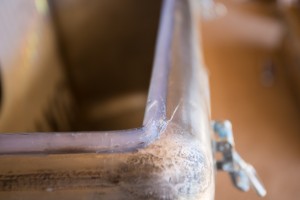
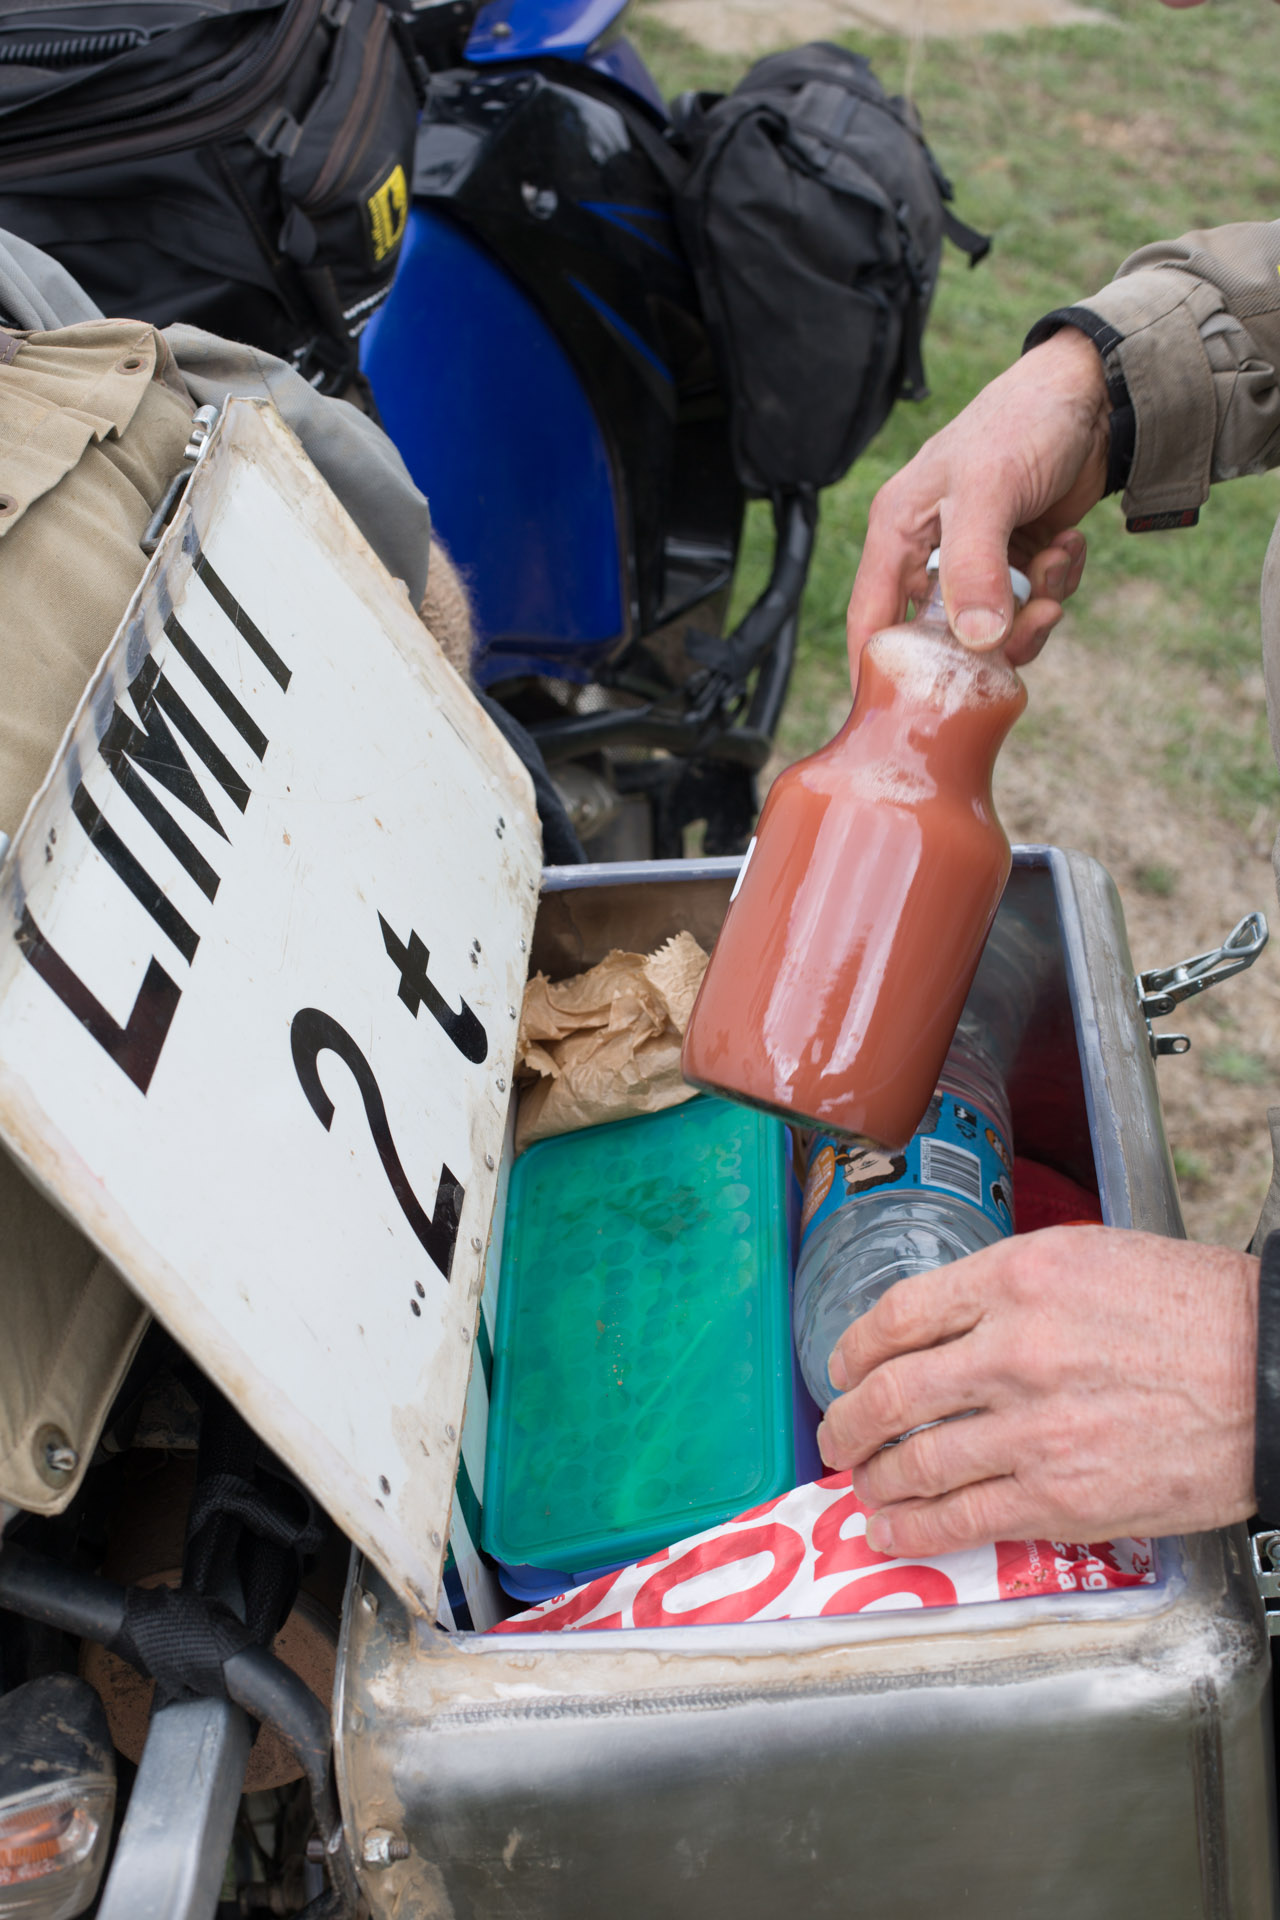
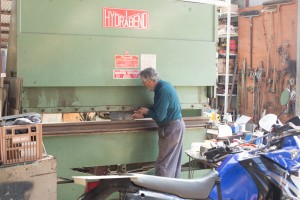
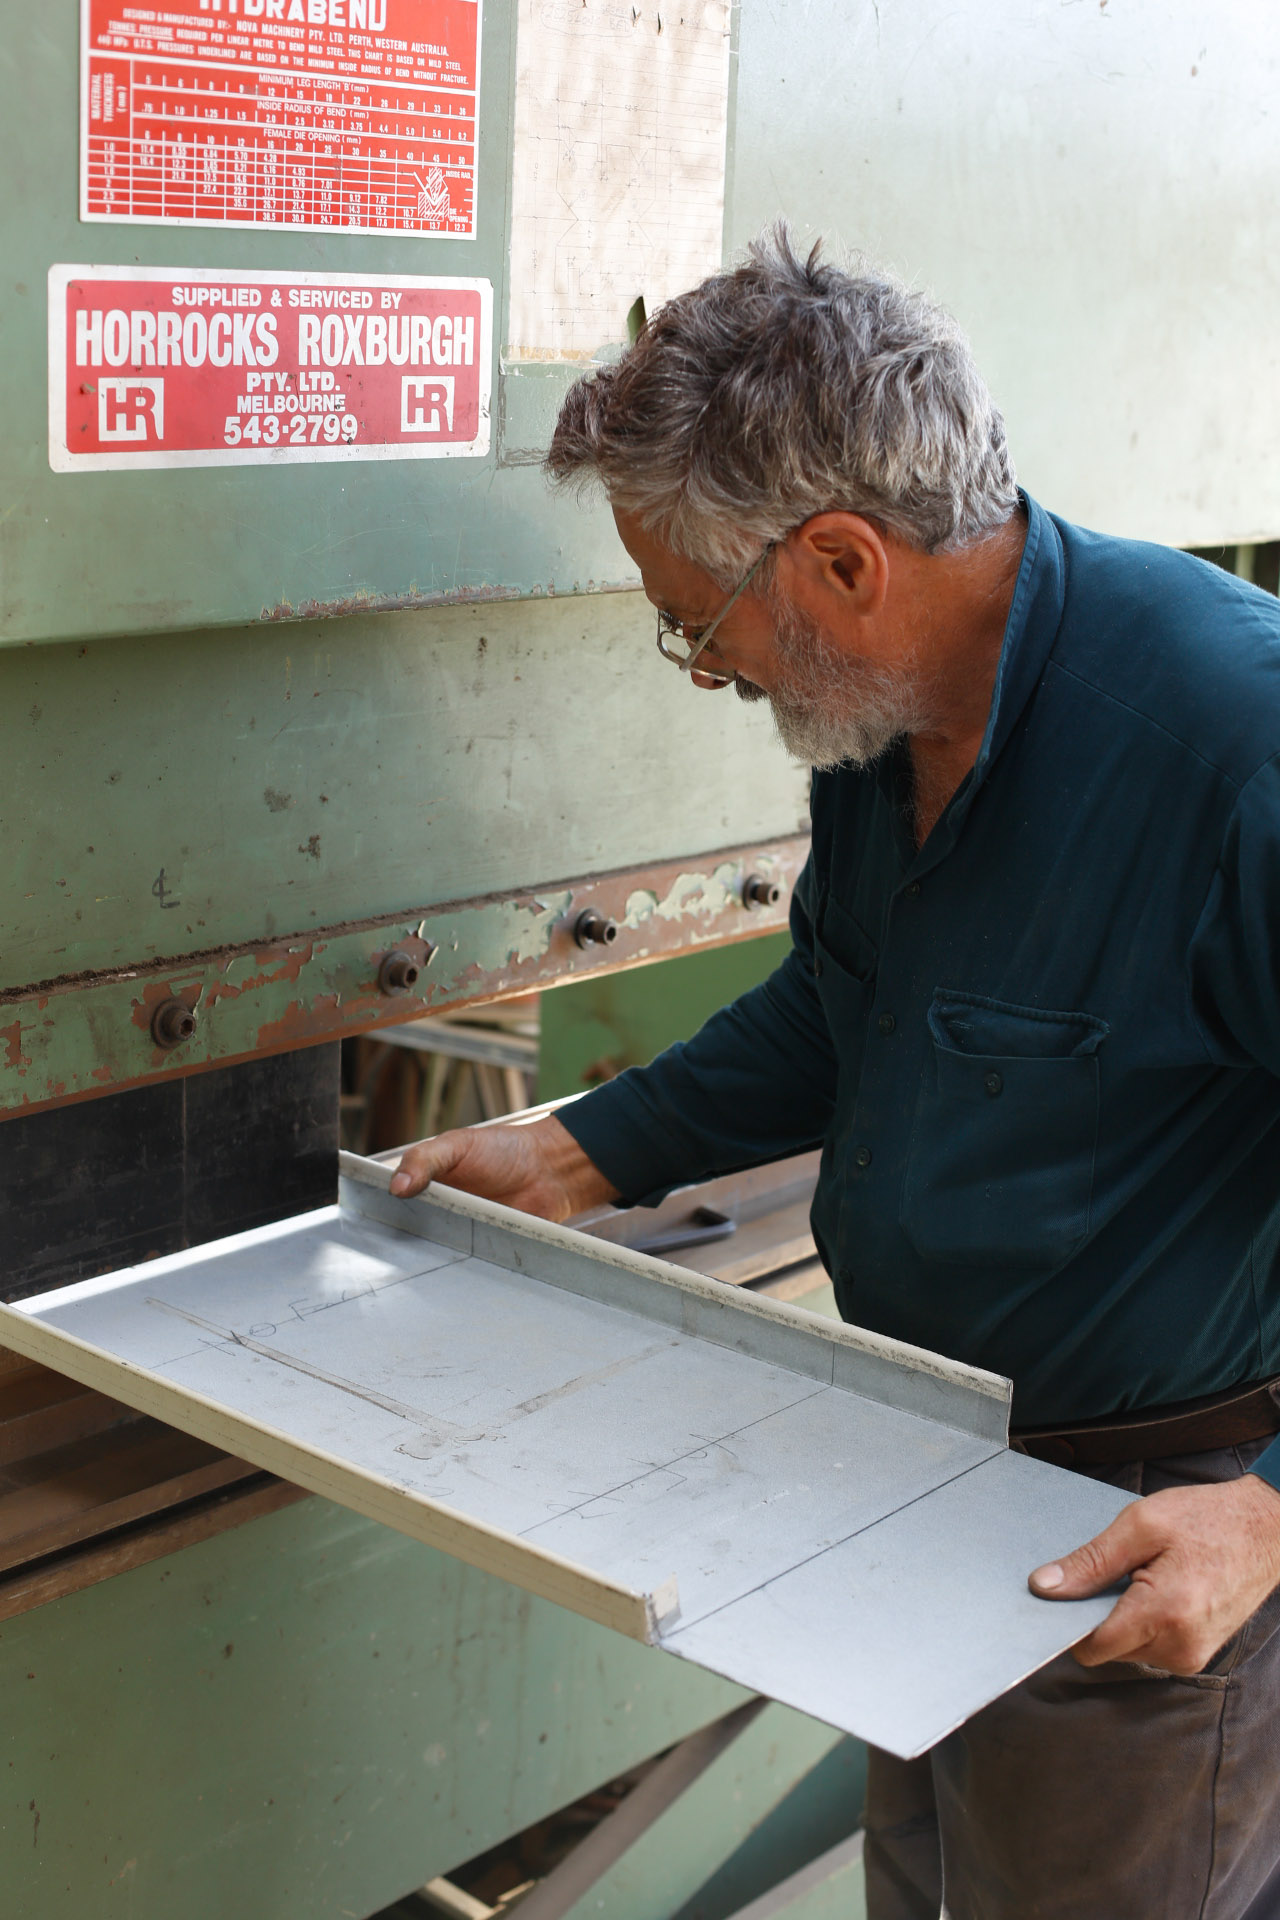
The first iteration of the Sunken Luggage System was based on four wash troughs. A shape and size matched set riveted together formed then top box and another set again shape and size matched, but different shape to those used in the top box, formed the side boxes. The shape and size matching was a challenge as almost every sink seems different to the next. I don’t recall ever seeing two separate sinks of the same shape and size. However double trough sinks are some times matched. For making a set of Sunken Luggage I value highly matched double trough sinks and put them aside. I have a large stock pile of sinks to choose from now because it took a while to find matched sets of the right size. A stockpile of stainless is a good thing to have on hand especially at 5 buck a piece for singles and 10 for doubles which is what I have been getting them for. The prices at tips or tip shops varies greatly from tip to tip. By focusing on the cheep, unvalued items we bring attention to their value. When the value of the item increases we can celebrate our achievement rather than lament the rising cost of a resource. We can be adaptable and turn our creativity to other “undiscovered” resources.
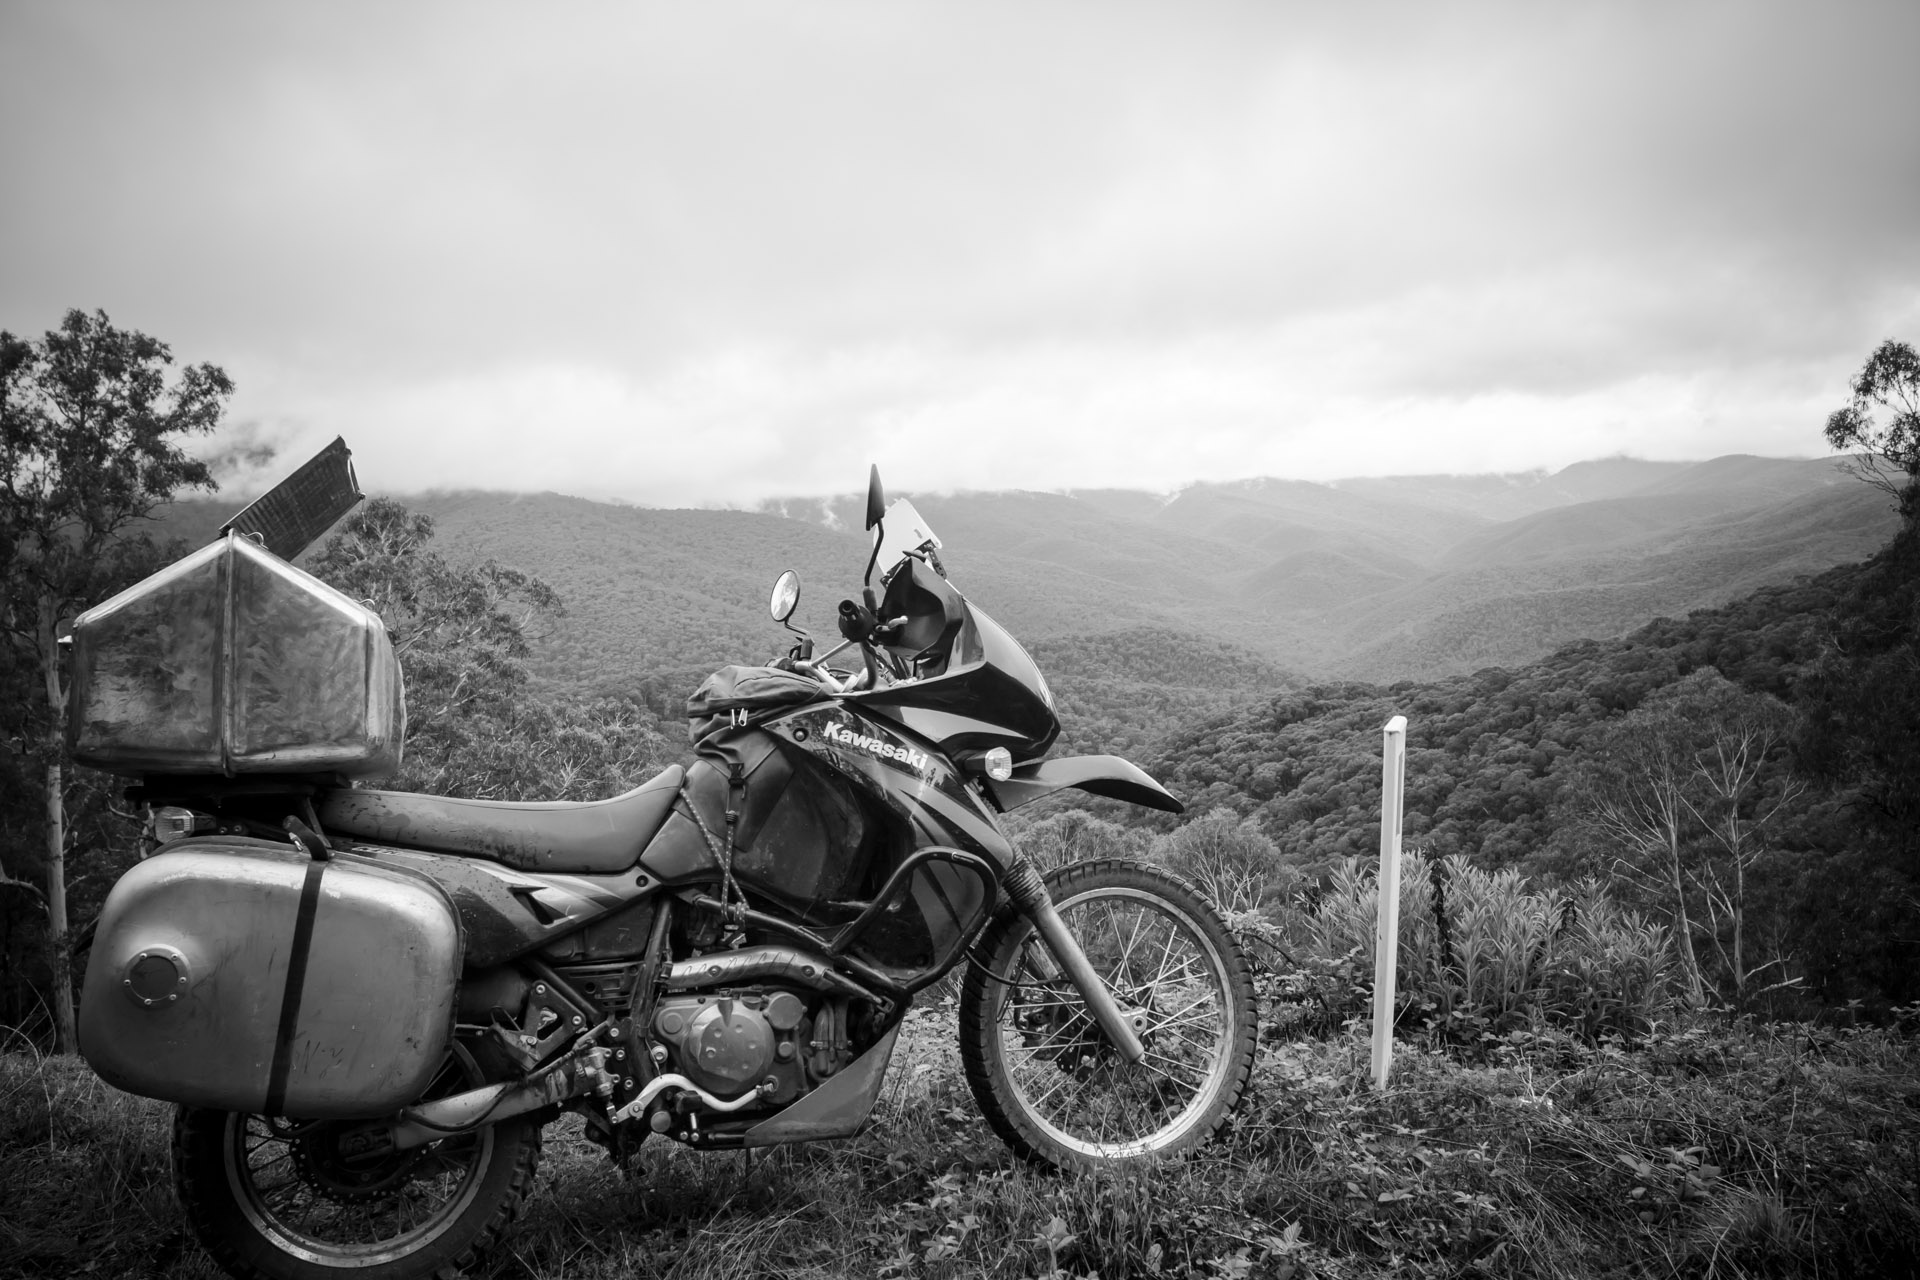
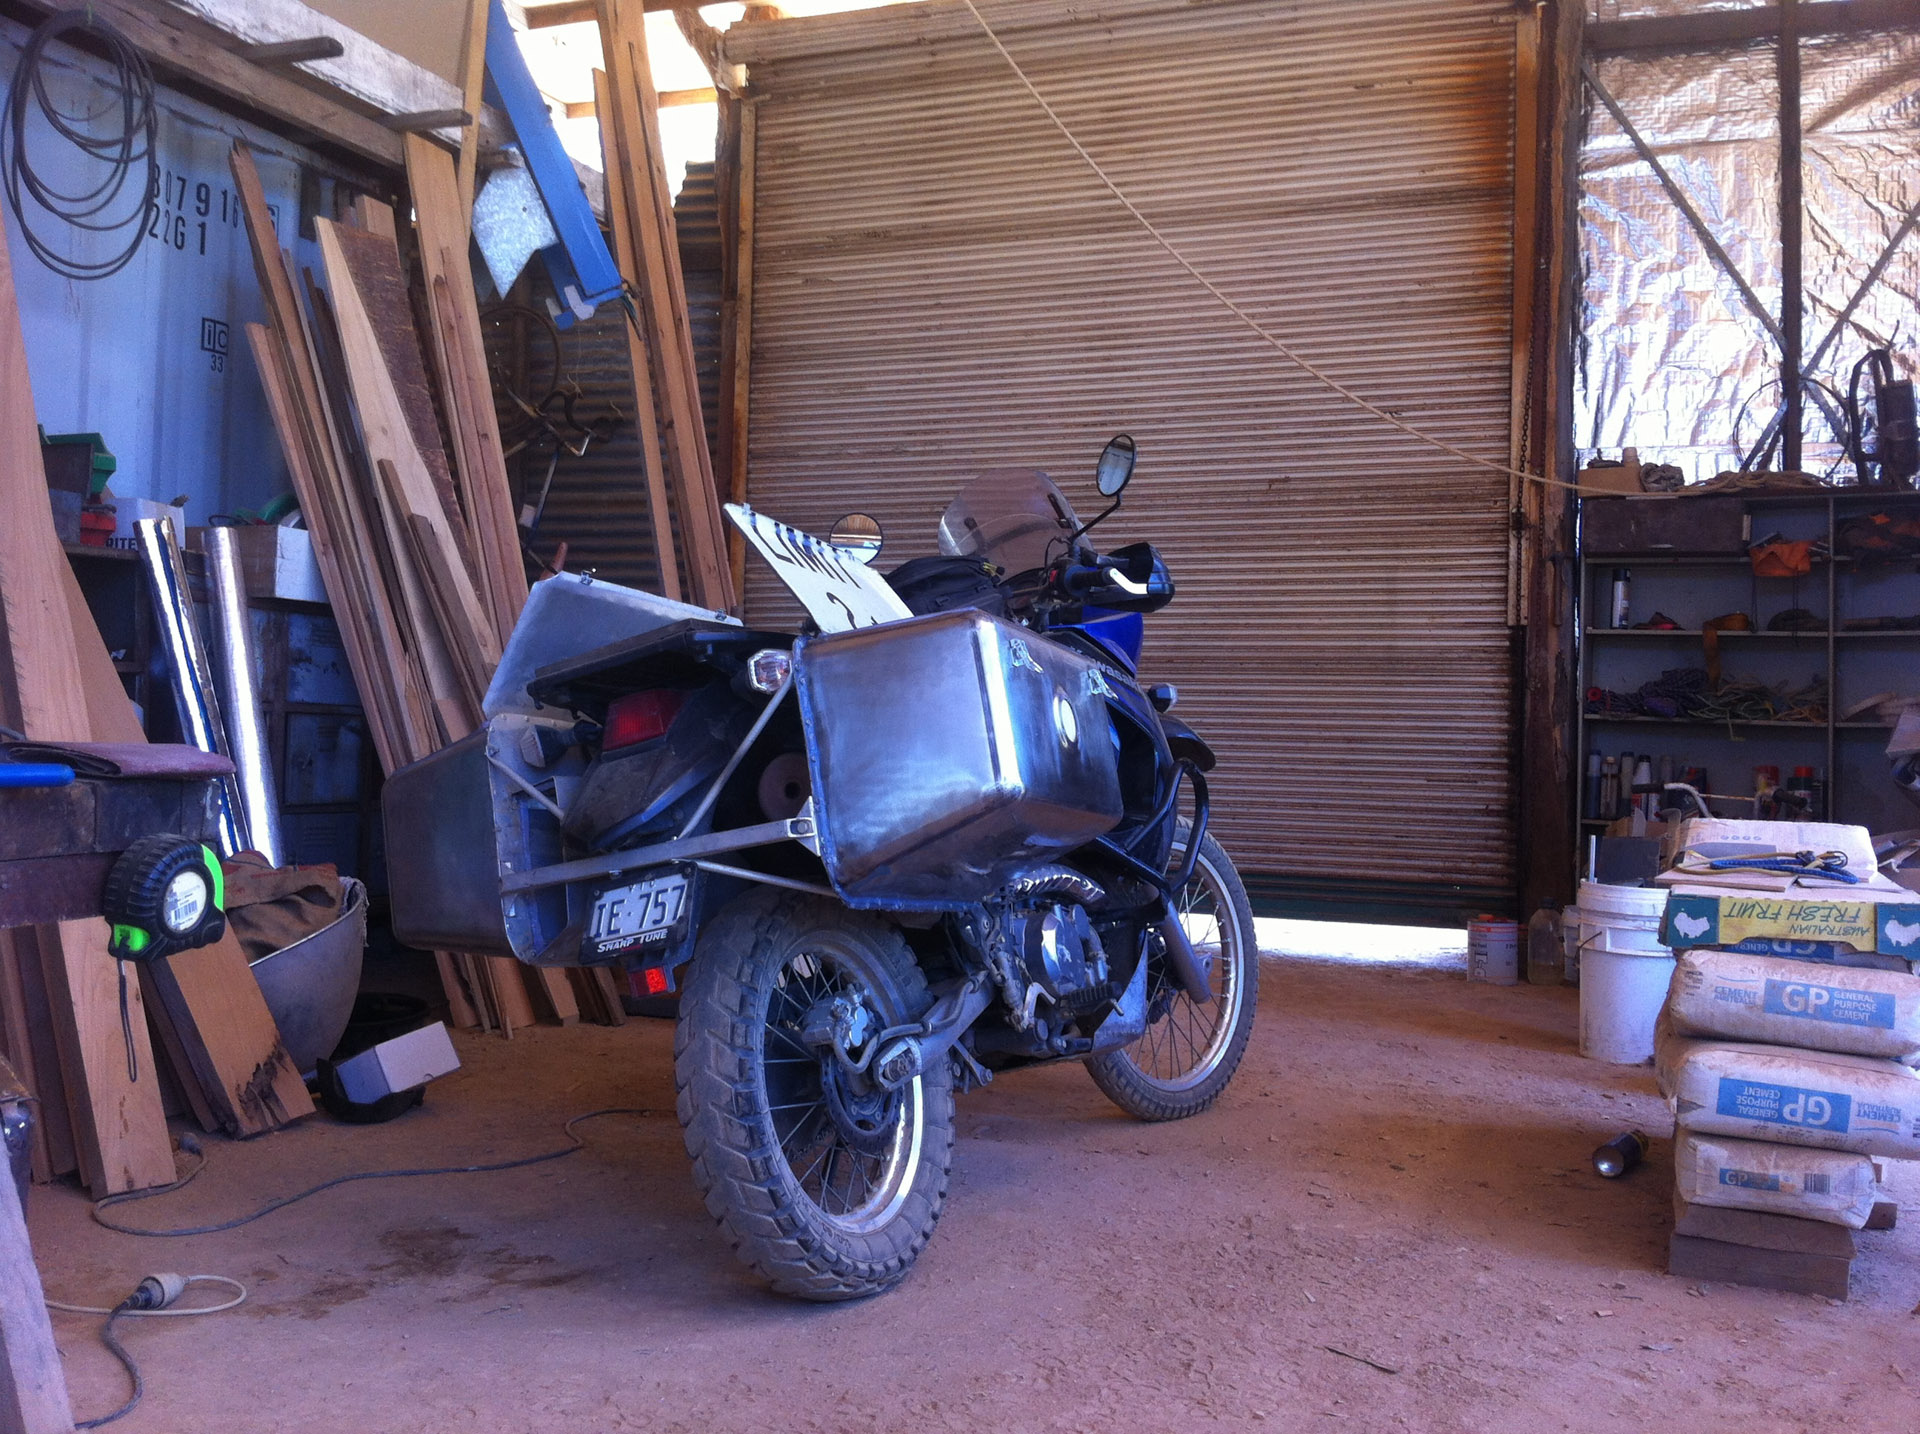
Mawson currently is travelling with Sunken Luggage version 2.2. As of 22/6/2013 V2.2 (V2Dodge) has 4500km of rough roads, 3 drops and one full roll of the bike and is holding up very well!
Having put well over 100 hours work into the system I am now very happy with the result. The most exciting thing about making V2.0 was how much quicker is was once I understood the various challenges and limitations from the experience with V1.x.
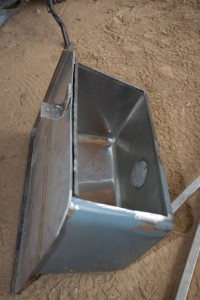
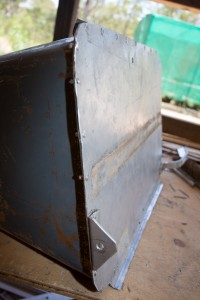
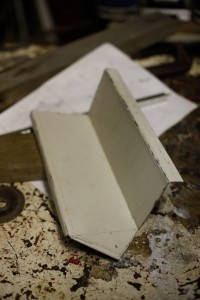
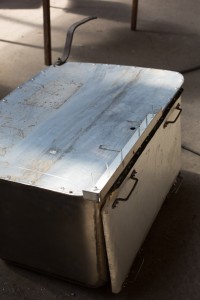
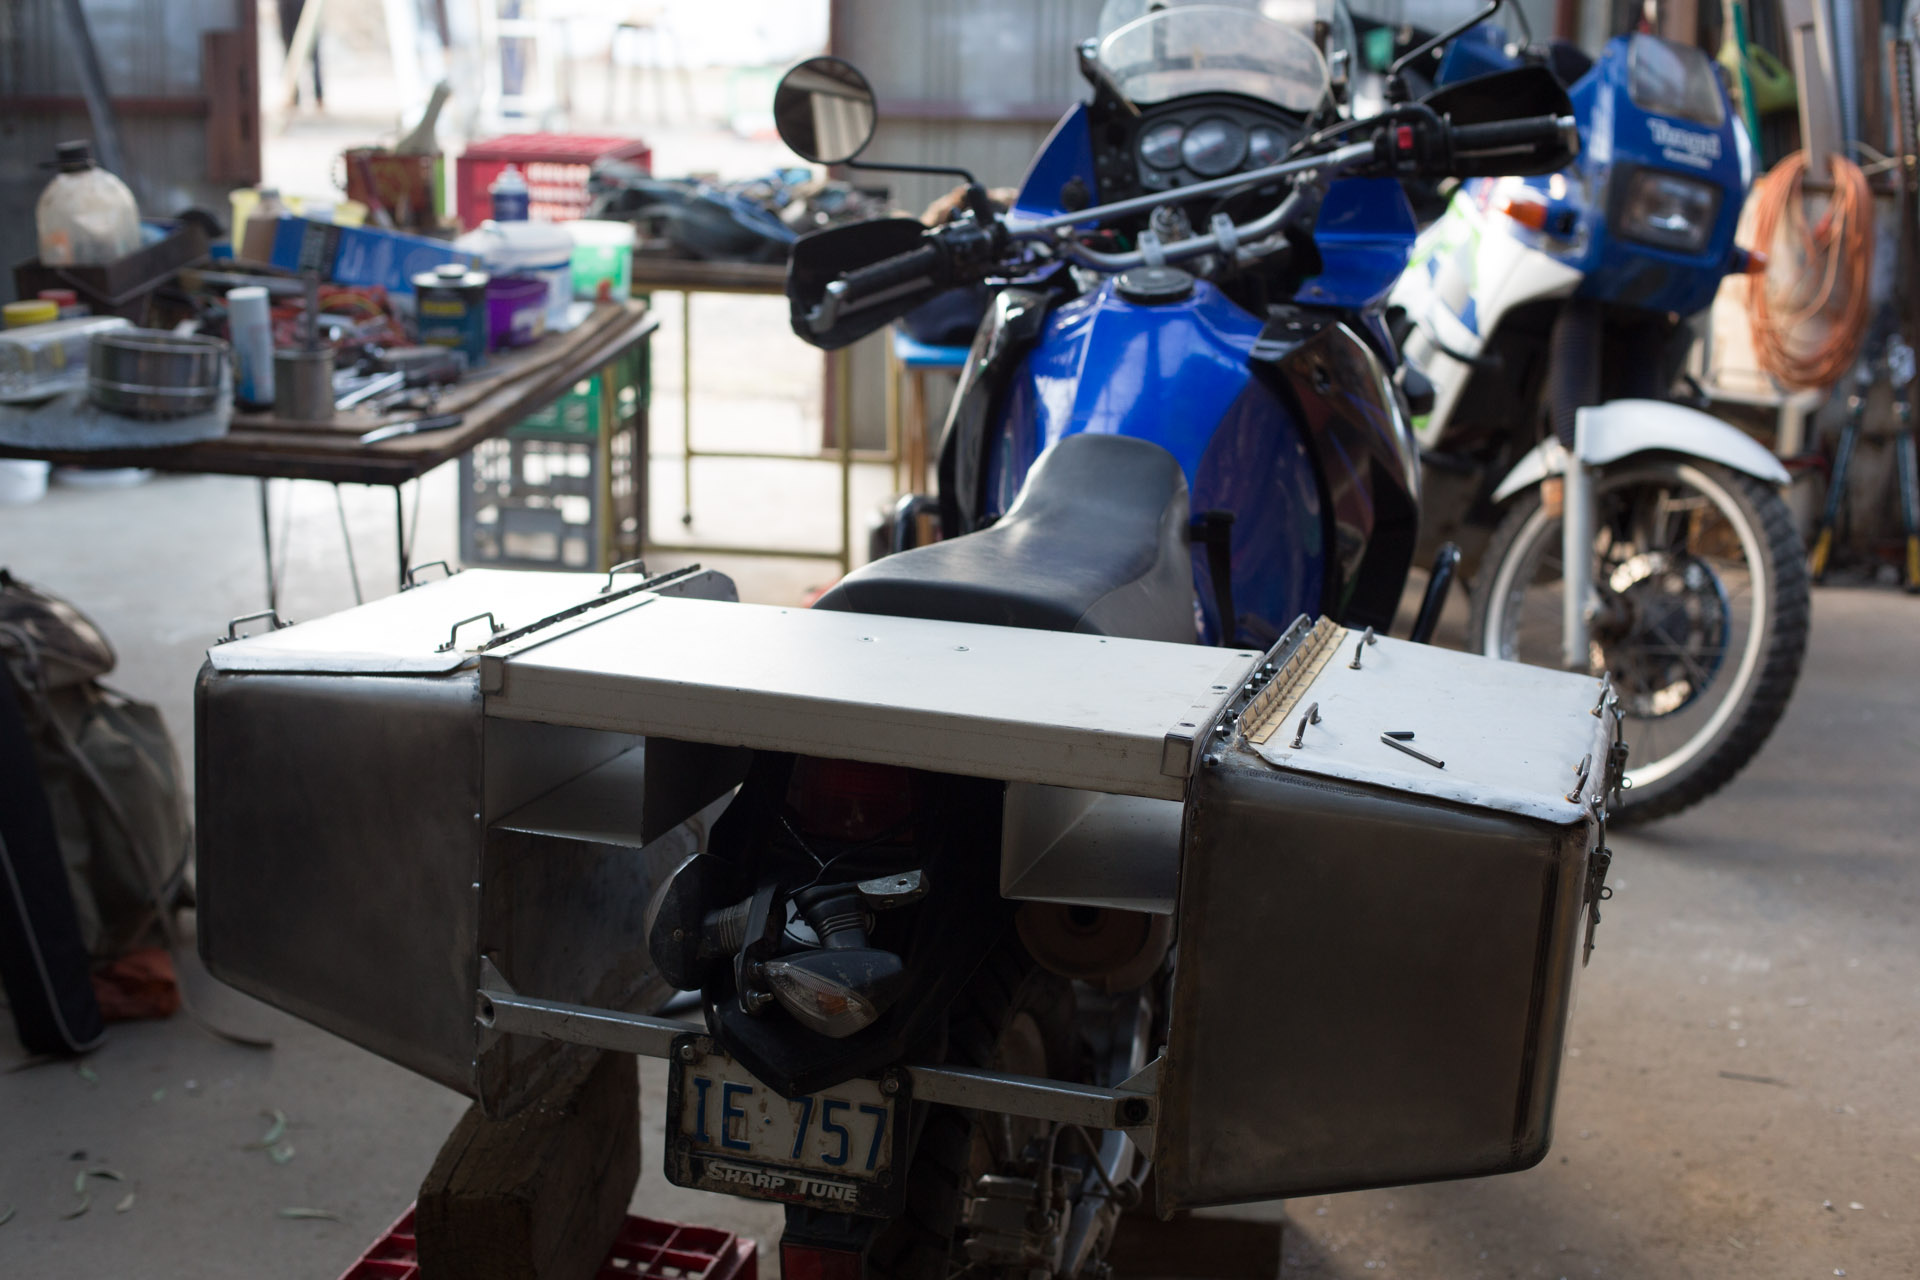
Version 1.0: This system consisted of two stainless steel sinks, a mild steel frame and two stainless steel wash troughs riveted together as a top box.
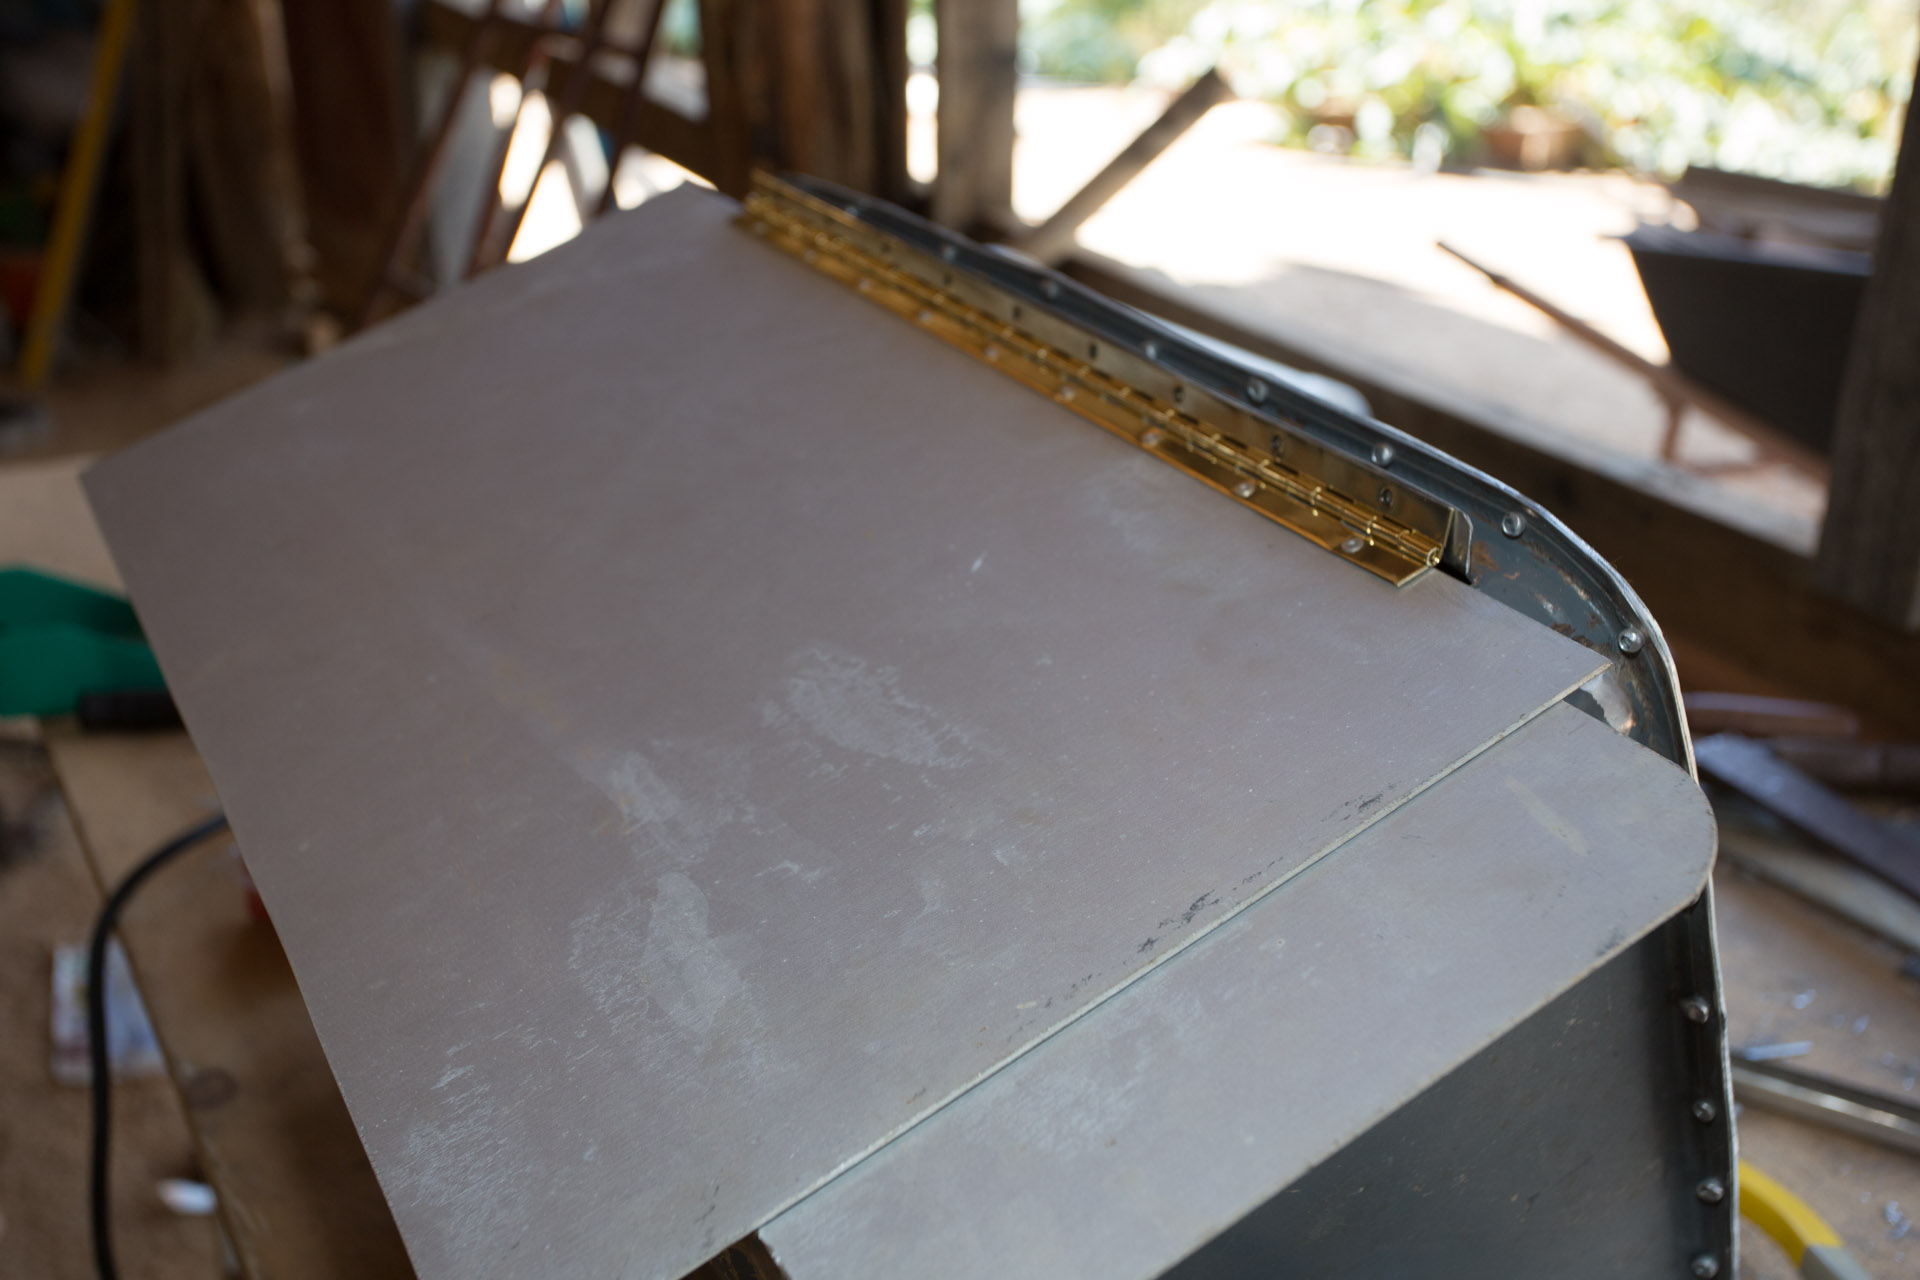
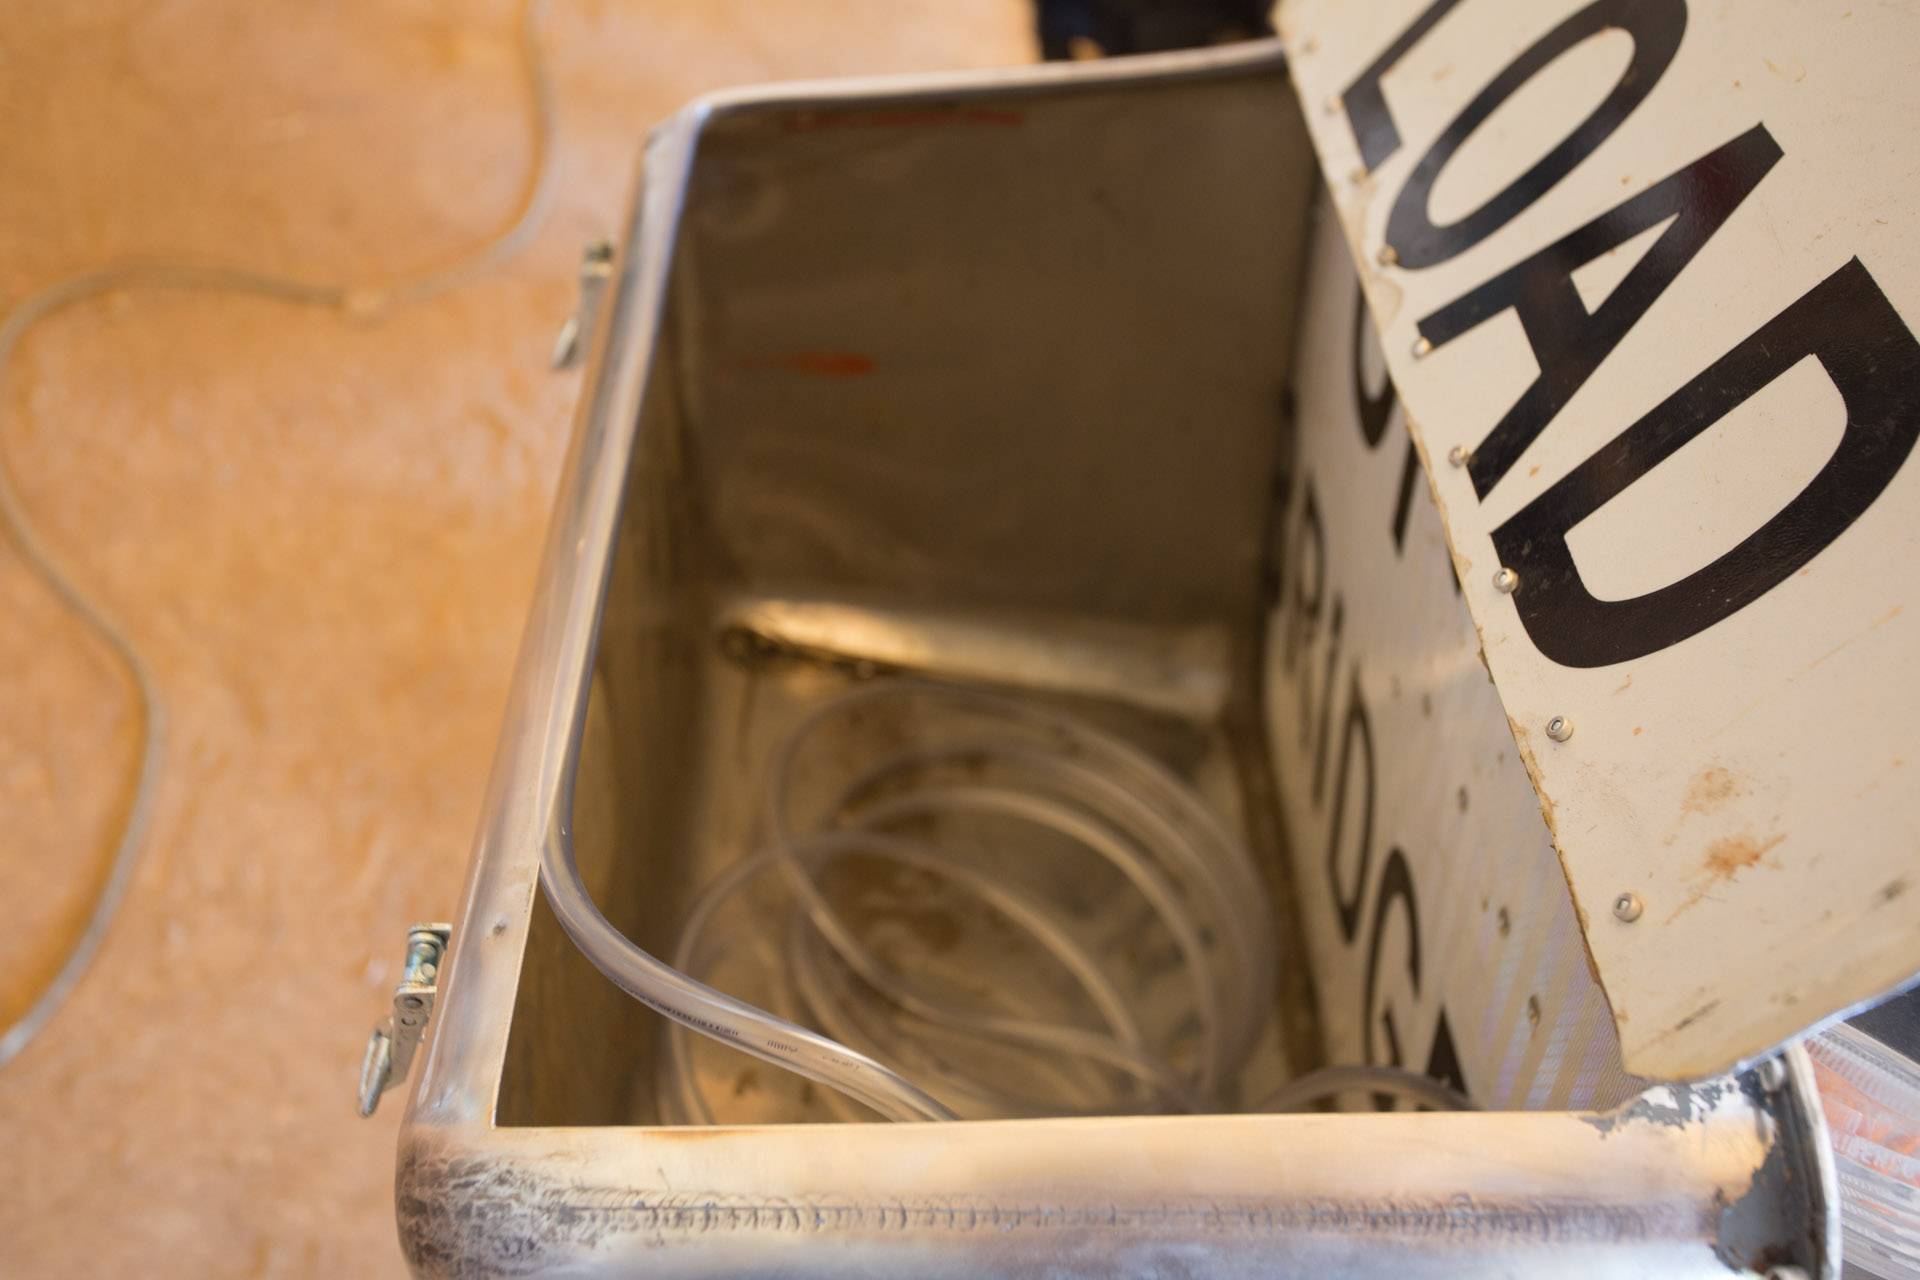
Version 2.0: This system consisted of two stainless steel sinks, of a slightly different design to the set used in version 1.0, attached directly to the bike without the heavy (approx 6kg) mild steel frame, while allowing for the original top box. The new system afforded top entry to the boxes while forgoing the quick release option offered by version 1.x. The top entry to the boxes allows for more efficient use of volume in the panniers.
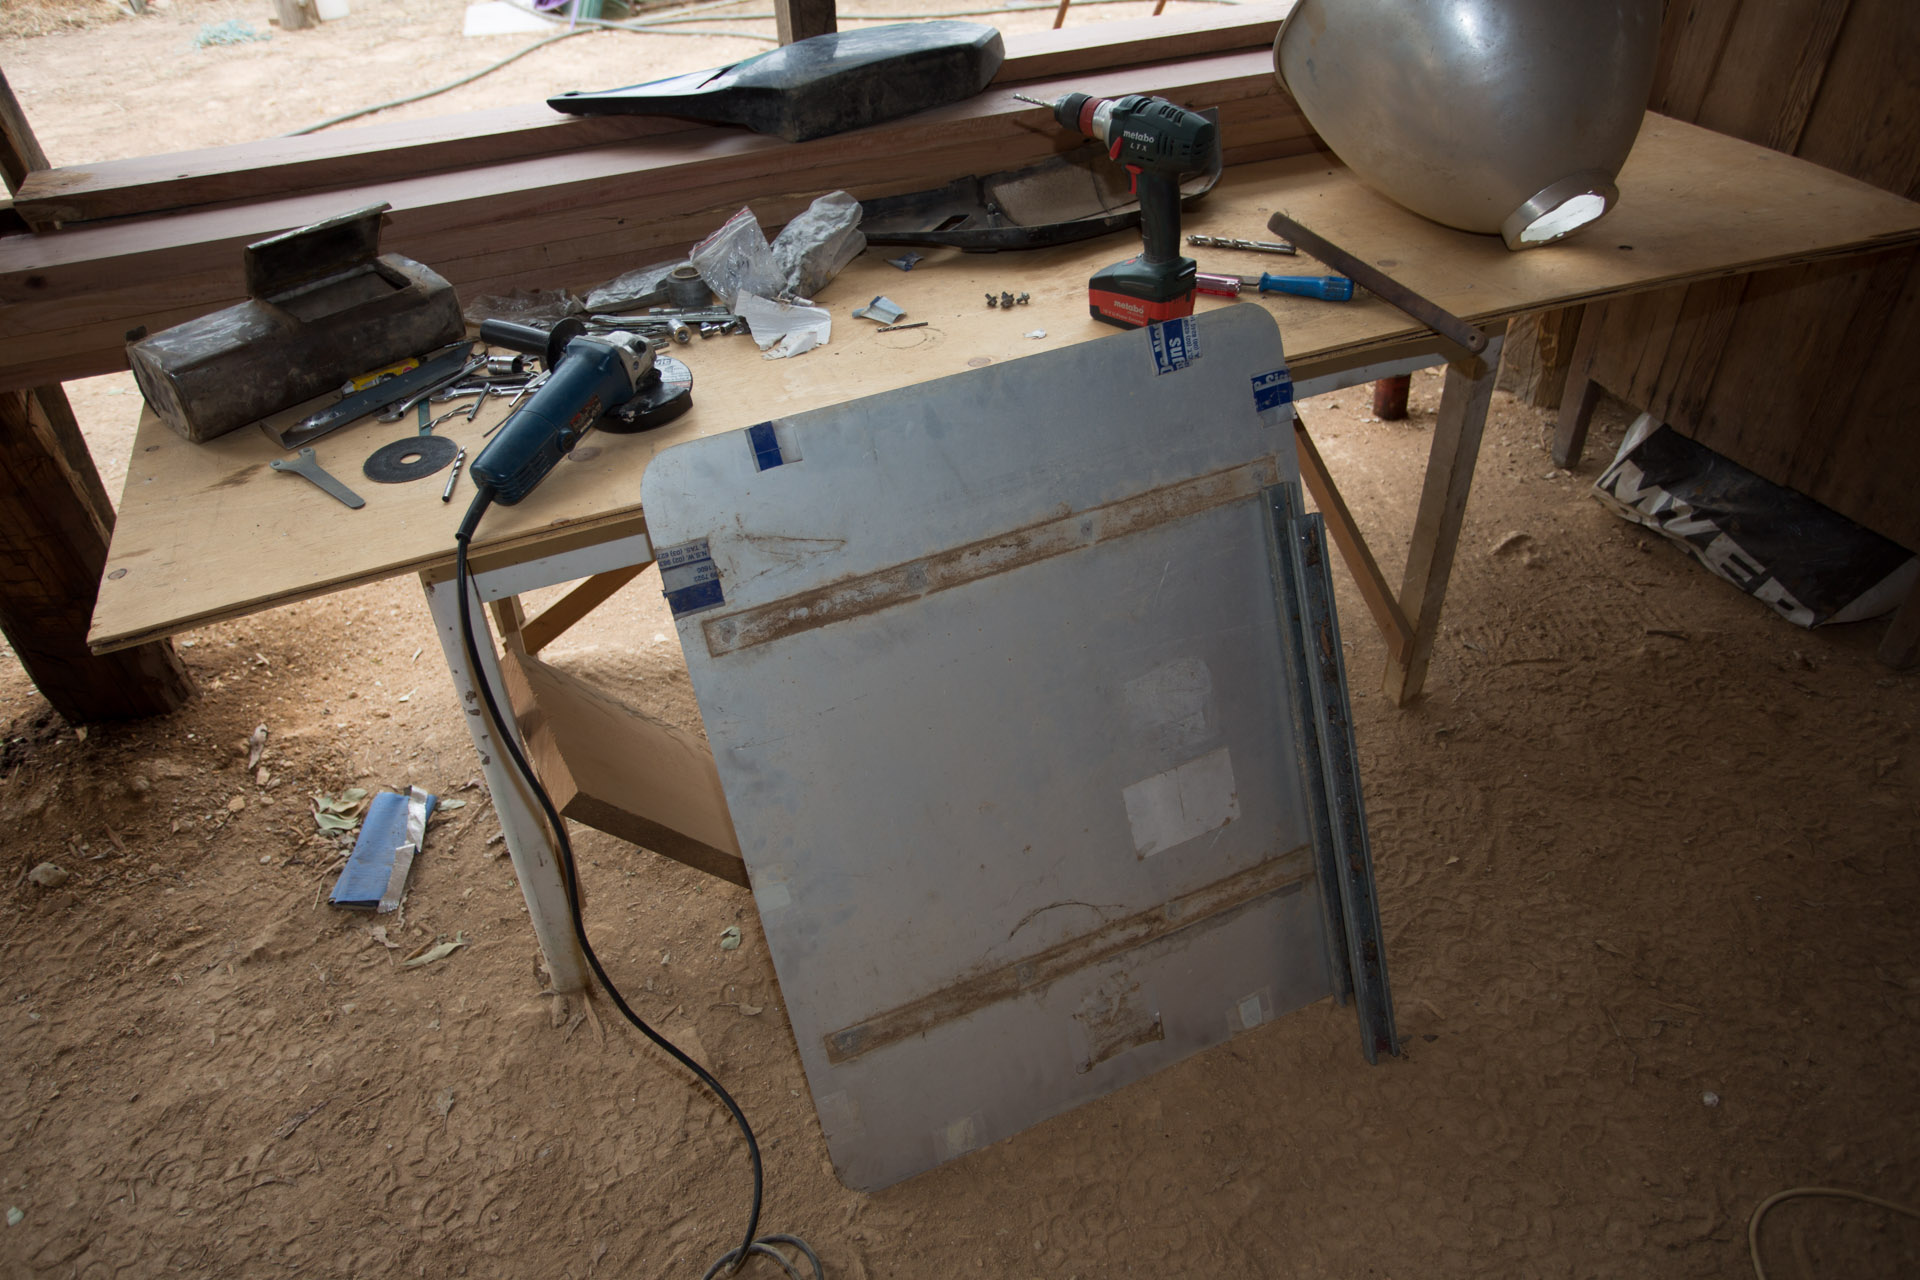
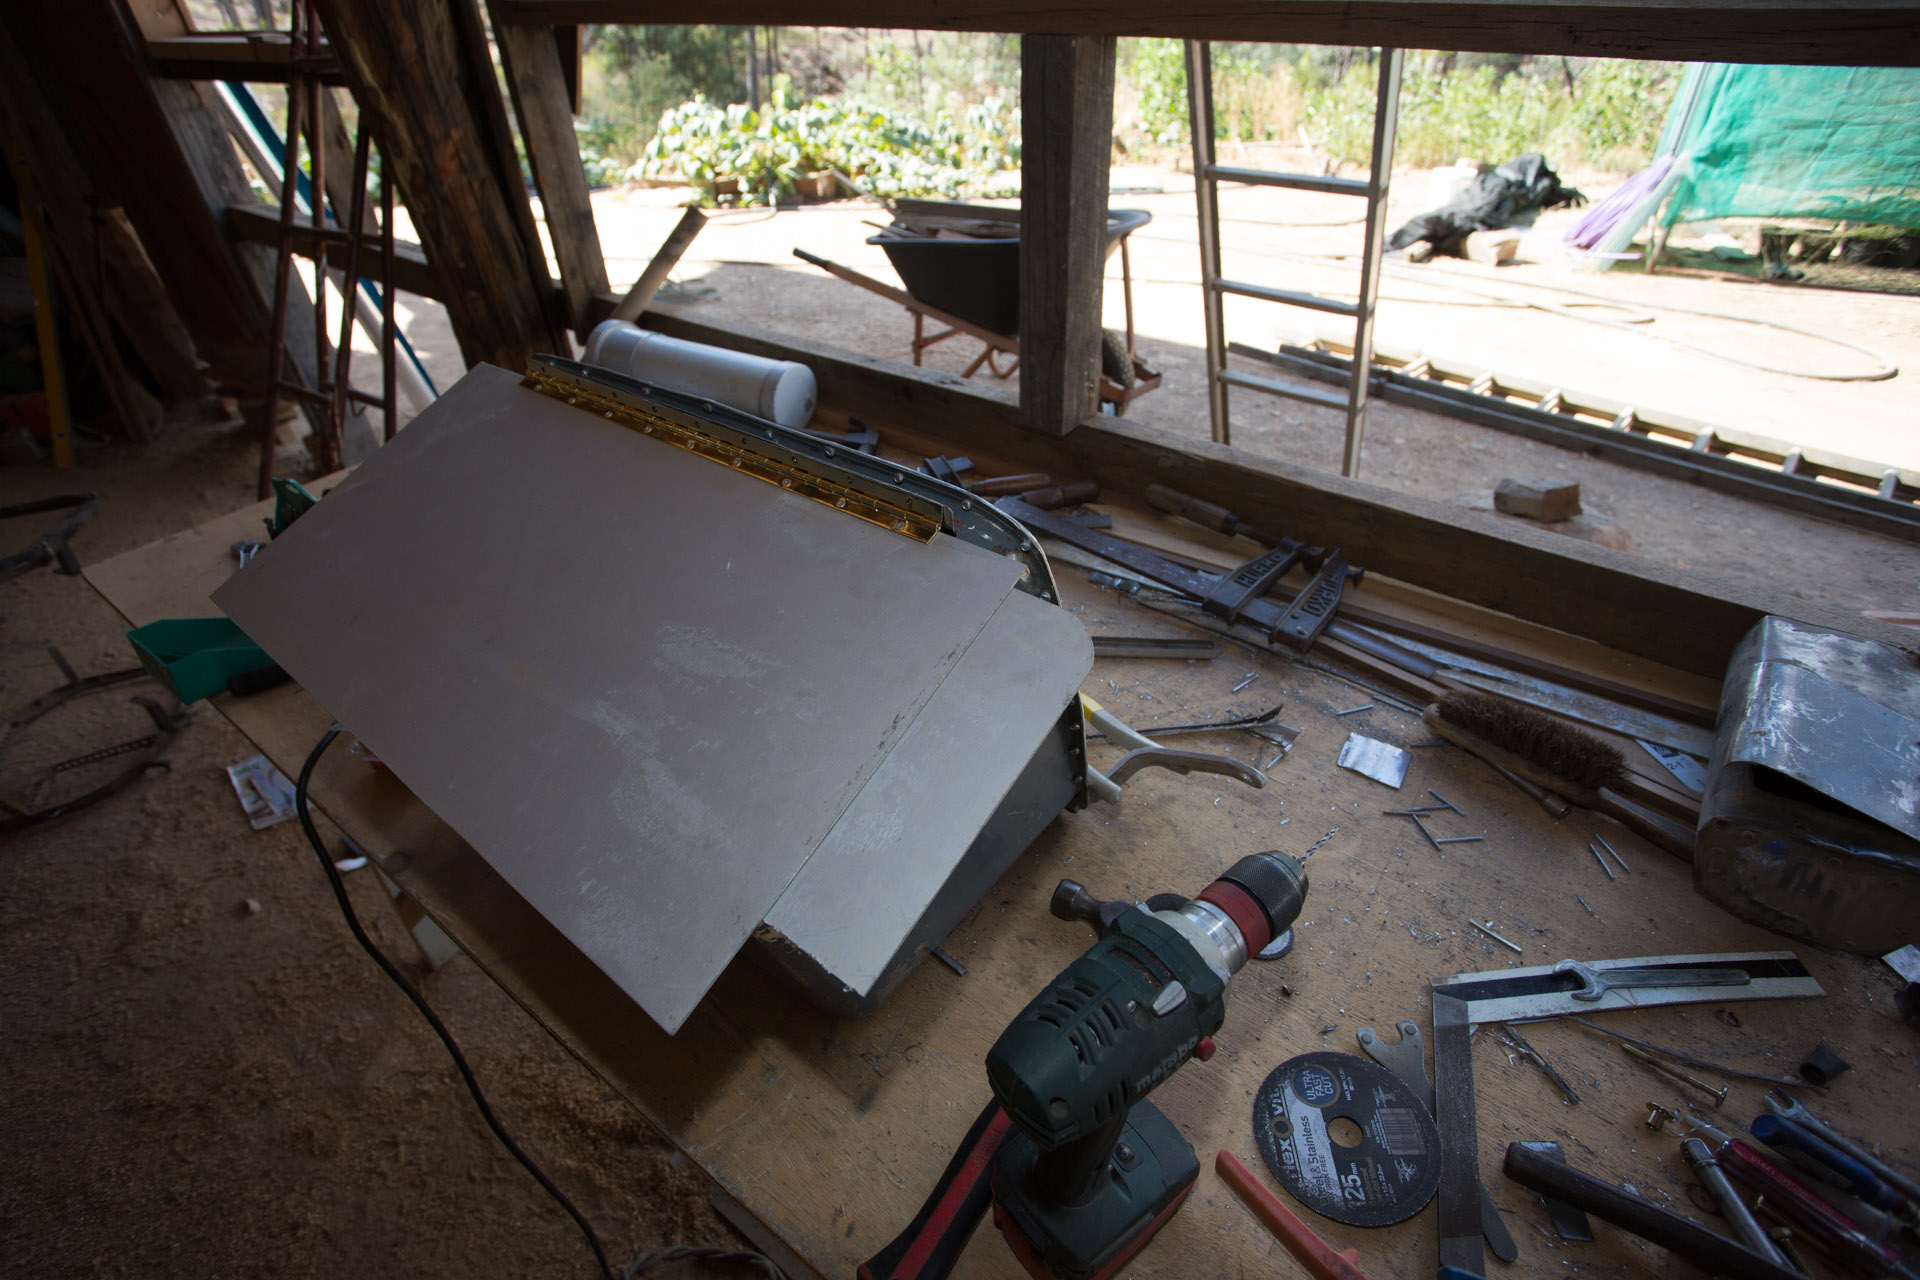
I have documented some of the stages of the Sunken Luggage System and intend to add some of the stages and steps as I have time.
I only have limited documentation of the construction of V1.x which follows.

The first use of stainless wash troughs was building the top box. This was not long after I first got Mawson in September 2009.

Thoughts:
This early stage had the most utility for the least work of the whole project. The top box has been very useful to create useable, lockable space on the bike for daily run around and adventures on dirt roads and better. The weight is carried quite high up and far back which can make the bike quite unstable if it is filled with heavy things. Very minimal modifications to the standard rack were needed to bolt the top box on and it can be removed in less than 5 minutes.
The weight of the topbox it self combined with its capacity make it less than ideal for challenging off road riding. This box is not good for very steep descending or ascending. This said, I have done over 20,000km with it through some very rough country without too many issues. For running about it has been fantastic.
Volume:90L
Weight: Approx 7kg
Time: Approx 16 hour
Cost: Less than $50
Sinks $10
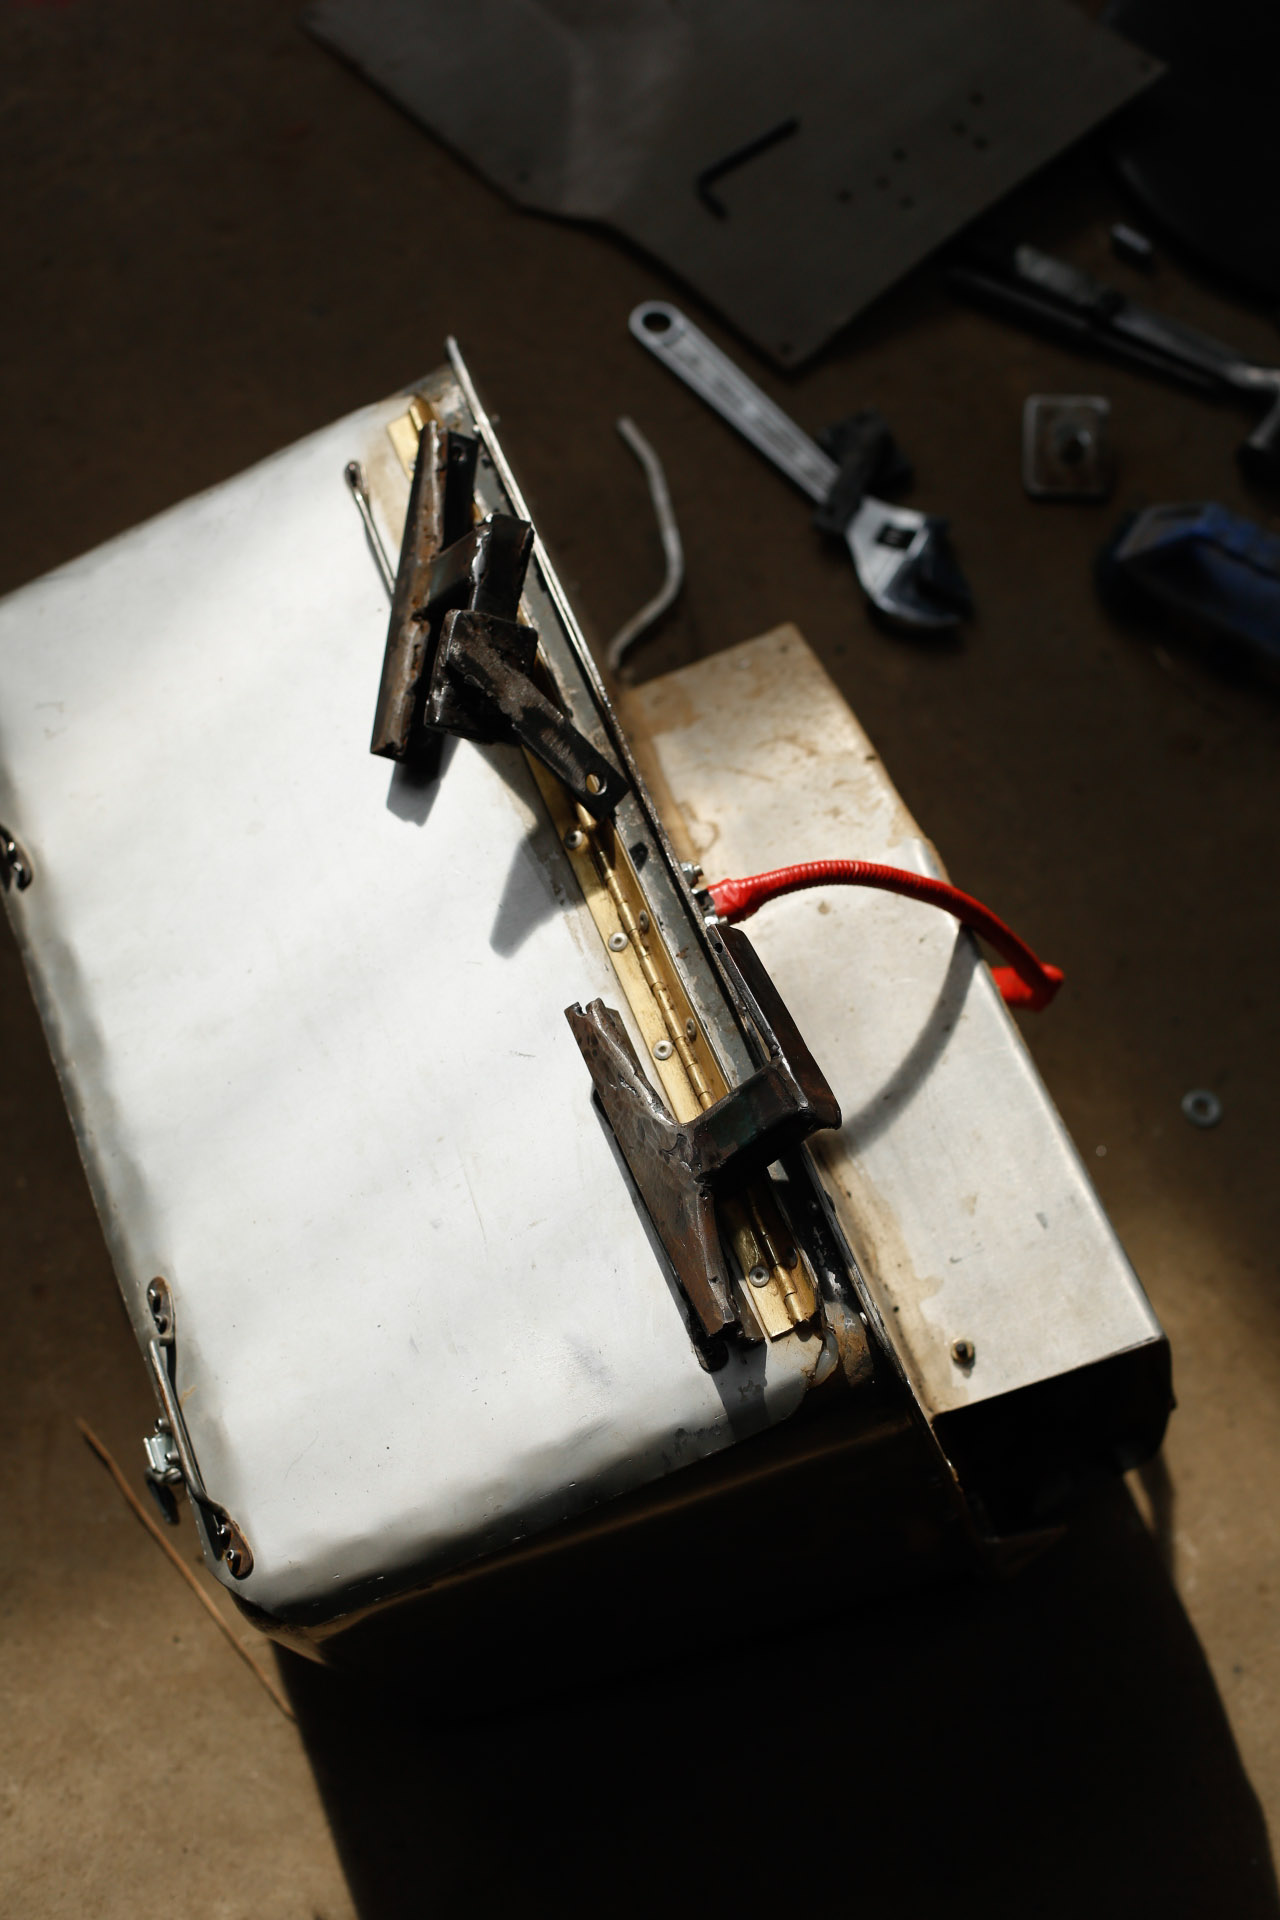
Piano hinge $15
Workshop consumables approx $10
This shot of V1.0 was taken on a 1200km ride through the Victorian high country with Alex Black and Liz Wade. Mawson is carrying the new side boxes and sink bash plate.
Each side box is 45L and weighs about 6.5kg. With the mounting frames weighing about 7.5kg. Also new is the bash plate made from a section of another sink which is mounted onto german made SW-Motech engine guard bars. The total weight of the top box, side boxes, bash plate and engine guard bars is about 35kg.
V1.0 seen here packing for the Vic high country trip. The side boxes clipped off, being packed. The very rough mild steel frame the carried V1.0 is also visible.
The pro with this version:
•Quick release side boxes
•Rounded corners on all boxes
•Huge capacity
The cons with this version
•Poor ability to use the volume in the side boxes due to side entry
•Significant weight of luggage system.
•Boxes too close to the road and too far forward. This was an attempt to keep weight forward and low but it resulted in a risk of trapping a leg under the boxes under certain circumstances and in one case I touched a side box on the road in a tight bituman corner laying it over too hard and hitting a bump in the road at the same time. The stock KLR suspension is very soft which also contributed to the box scraping the road.
•Luggage frame is rough and ugly due to many adjustments during construction.
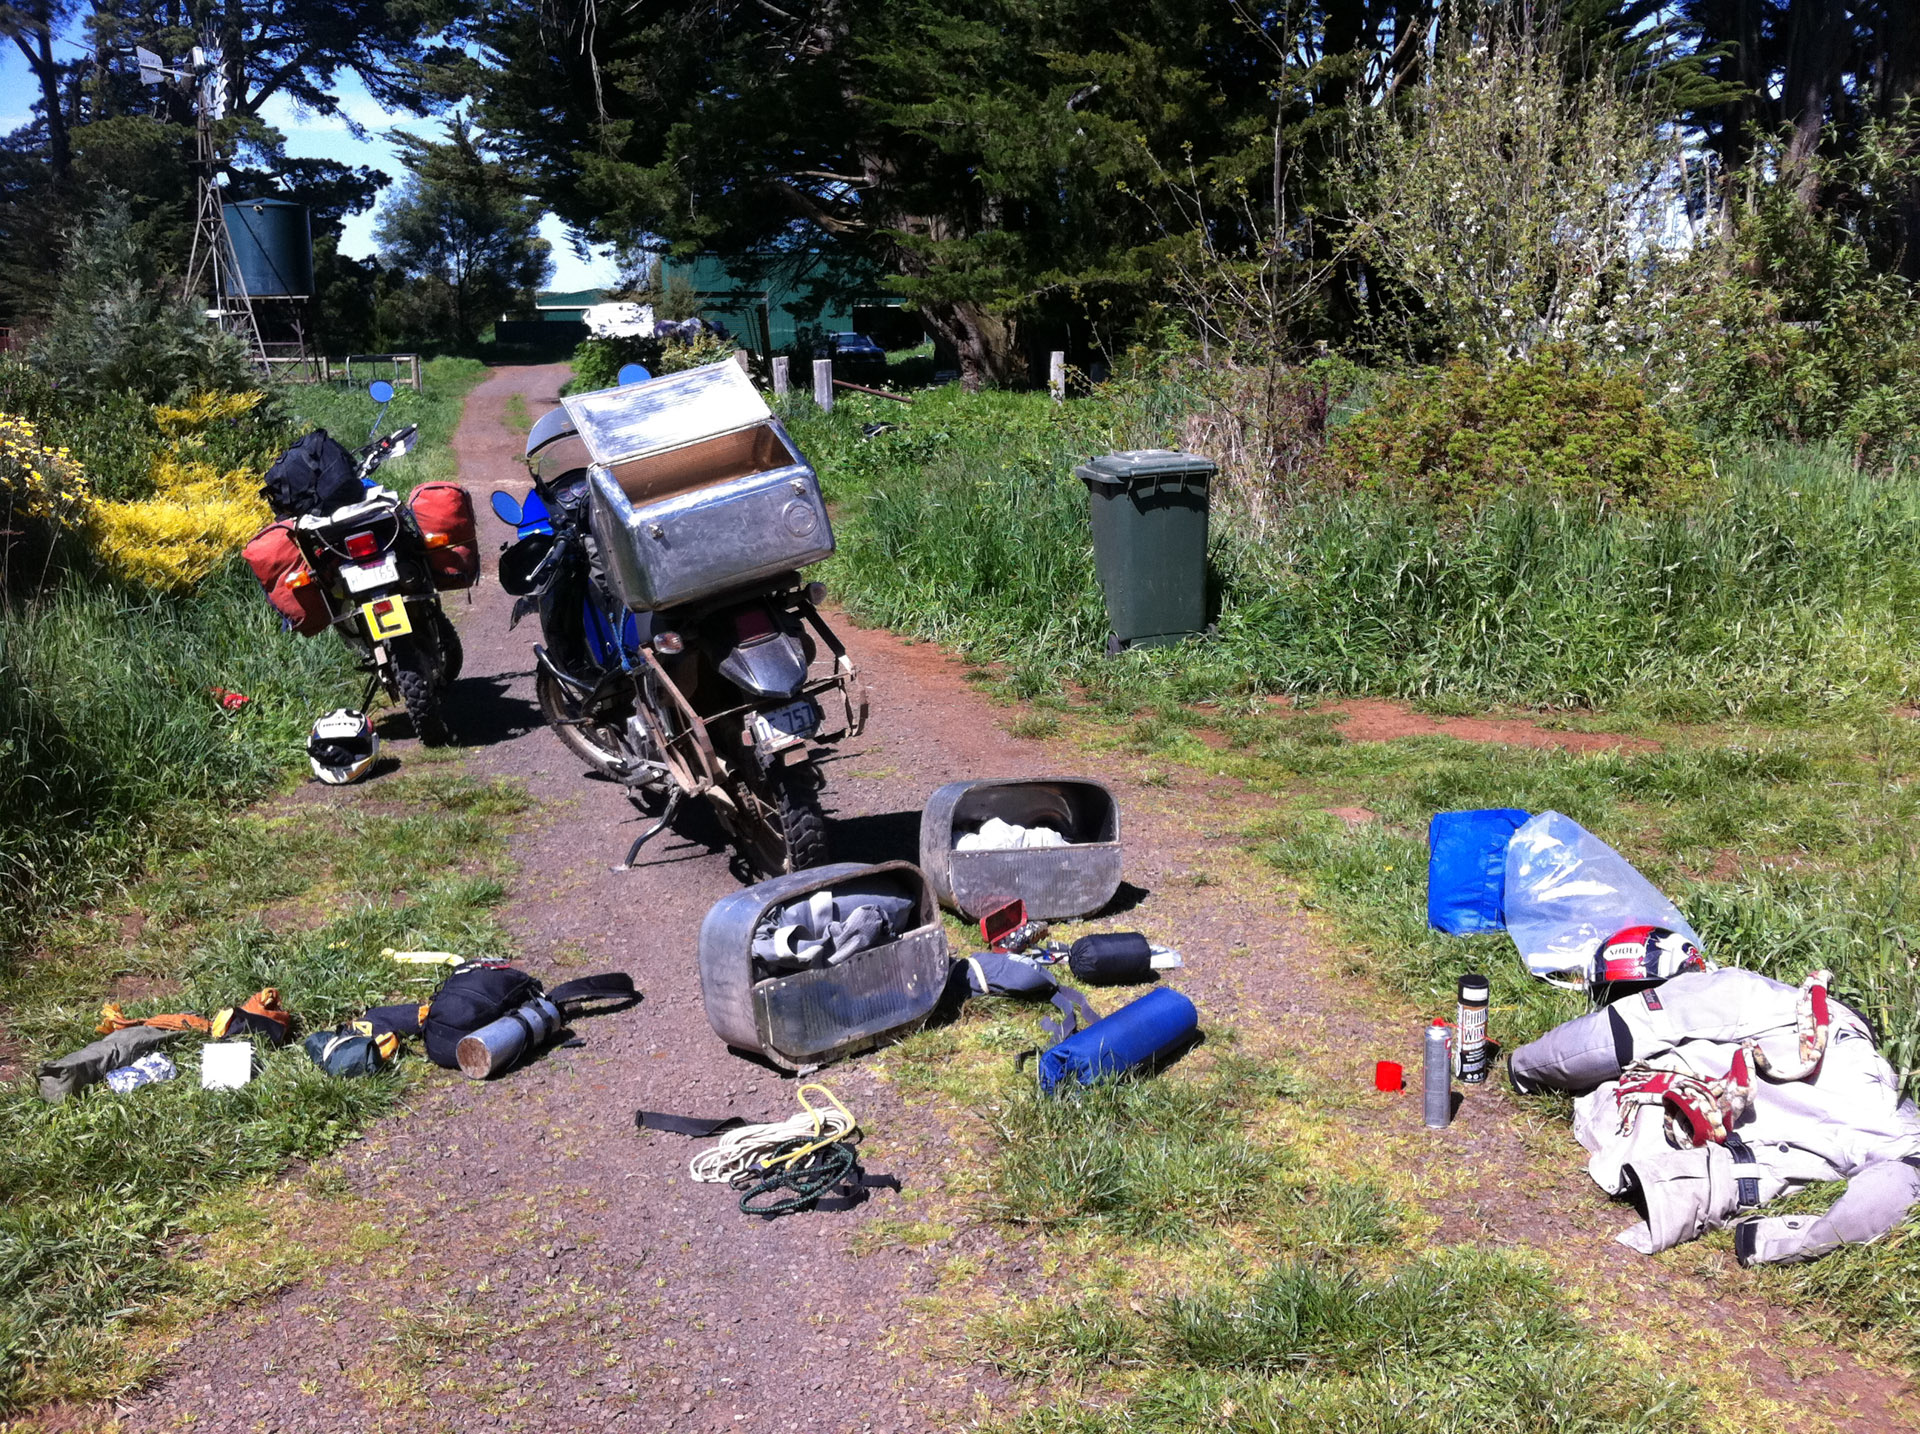
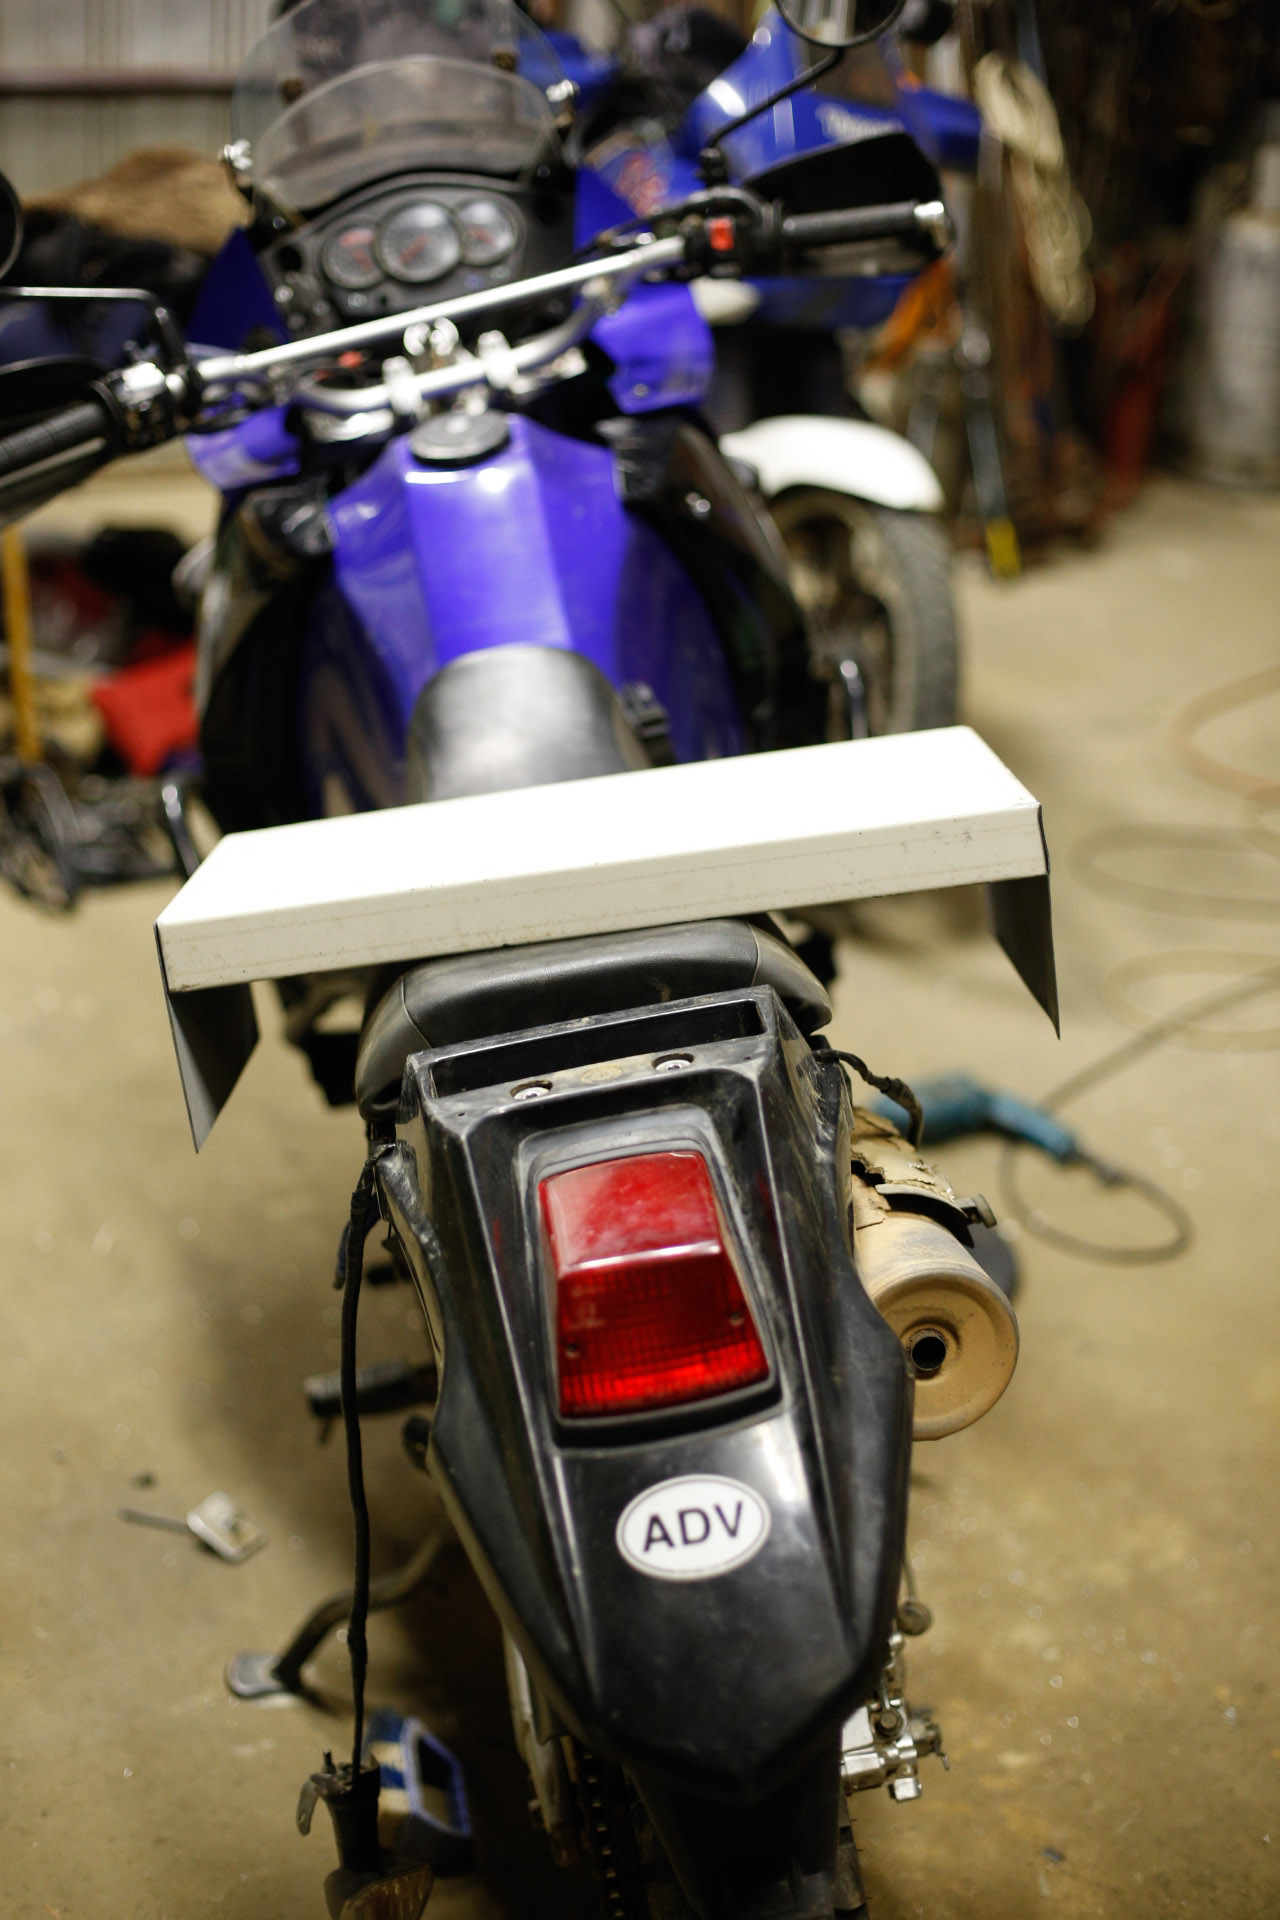
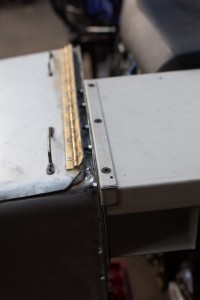
Version 1.1 involved moving the boxes up about 35mm, back about 50mm, adding fuel container mounts on the front for a 5L container each side, improved latches and removing significant amounts of metal from the mild steel frames.
Version 1.1. Fuel container mounts, r clip pins, new latches, tie down points, soft bicycle pannier and many more additions are visible in this shot.
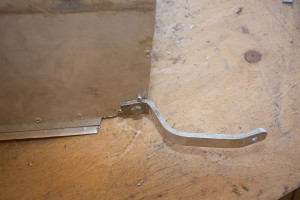
Another addition in V1.1 was a bicycle pannier to the front of the top box which added volume to the system but more importantly added the capacity to pack soft things as a back rest in the soft pannier or leave it empty and fit a pillion at a squeeze. There were many small additions like the tie down points on the top box that have elastic hook straps attached to them in the above shot. New pins with R clips have been added to the side box fastening system allowing the padlock to do its proper job of security when needed rather than an actual fastener.
Also seen here is the full grill that attaches to the bash plate and covers the radiator. This was intended to prevent radiator damage from sticks and other debris that could flick up. It also acts to deflect water in deep crossings for a short time as the bike enters the water, increasing the time taken to cool the engine. I don’t like the idea of taking a hot engine and submerging it in water rapidly. The stresses are greater the faster the engine cools so deflecting most of the water around the engine helps slow the cooling a little.
I get many question about decreased airflow to the radiator. I carefully monitored temps after the addition and I was unable to detect a difference in operation. The grill actually stops about 35mm short of the top of the radiator such that it is still protected from sticks and debris but it gets full air flow over the hottest part part, the top.
After the grill installation I did install an external thermostat from Wattman in the US. He offers kits for the KLR that I am very happy with. The reason for this modification was that the stock KLR thermostat runs a little above half way on the gauge in slow hard dirt work but right at the bottom of the gauge when on the highway even on hot days. Basically it isn’t doing its job of slowing coolant flow in the rad to allow stable engine temps. There are several other issues that the Wattman external thermostat kit addresses as well. Wattman calls the mod the “Thermobob”.
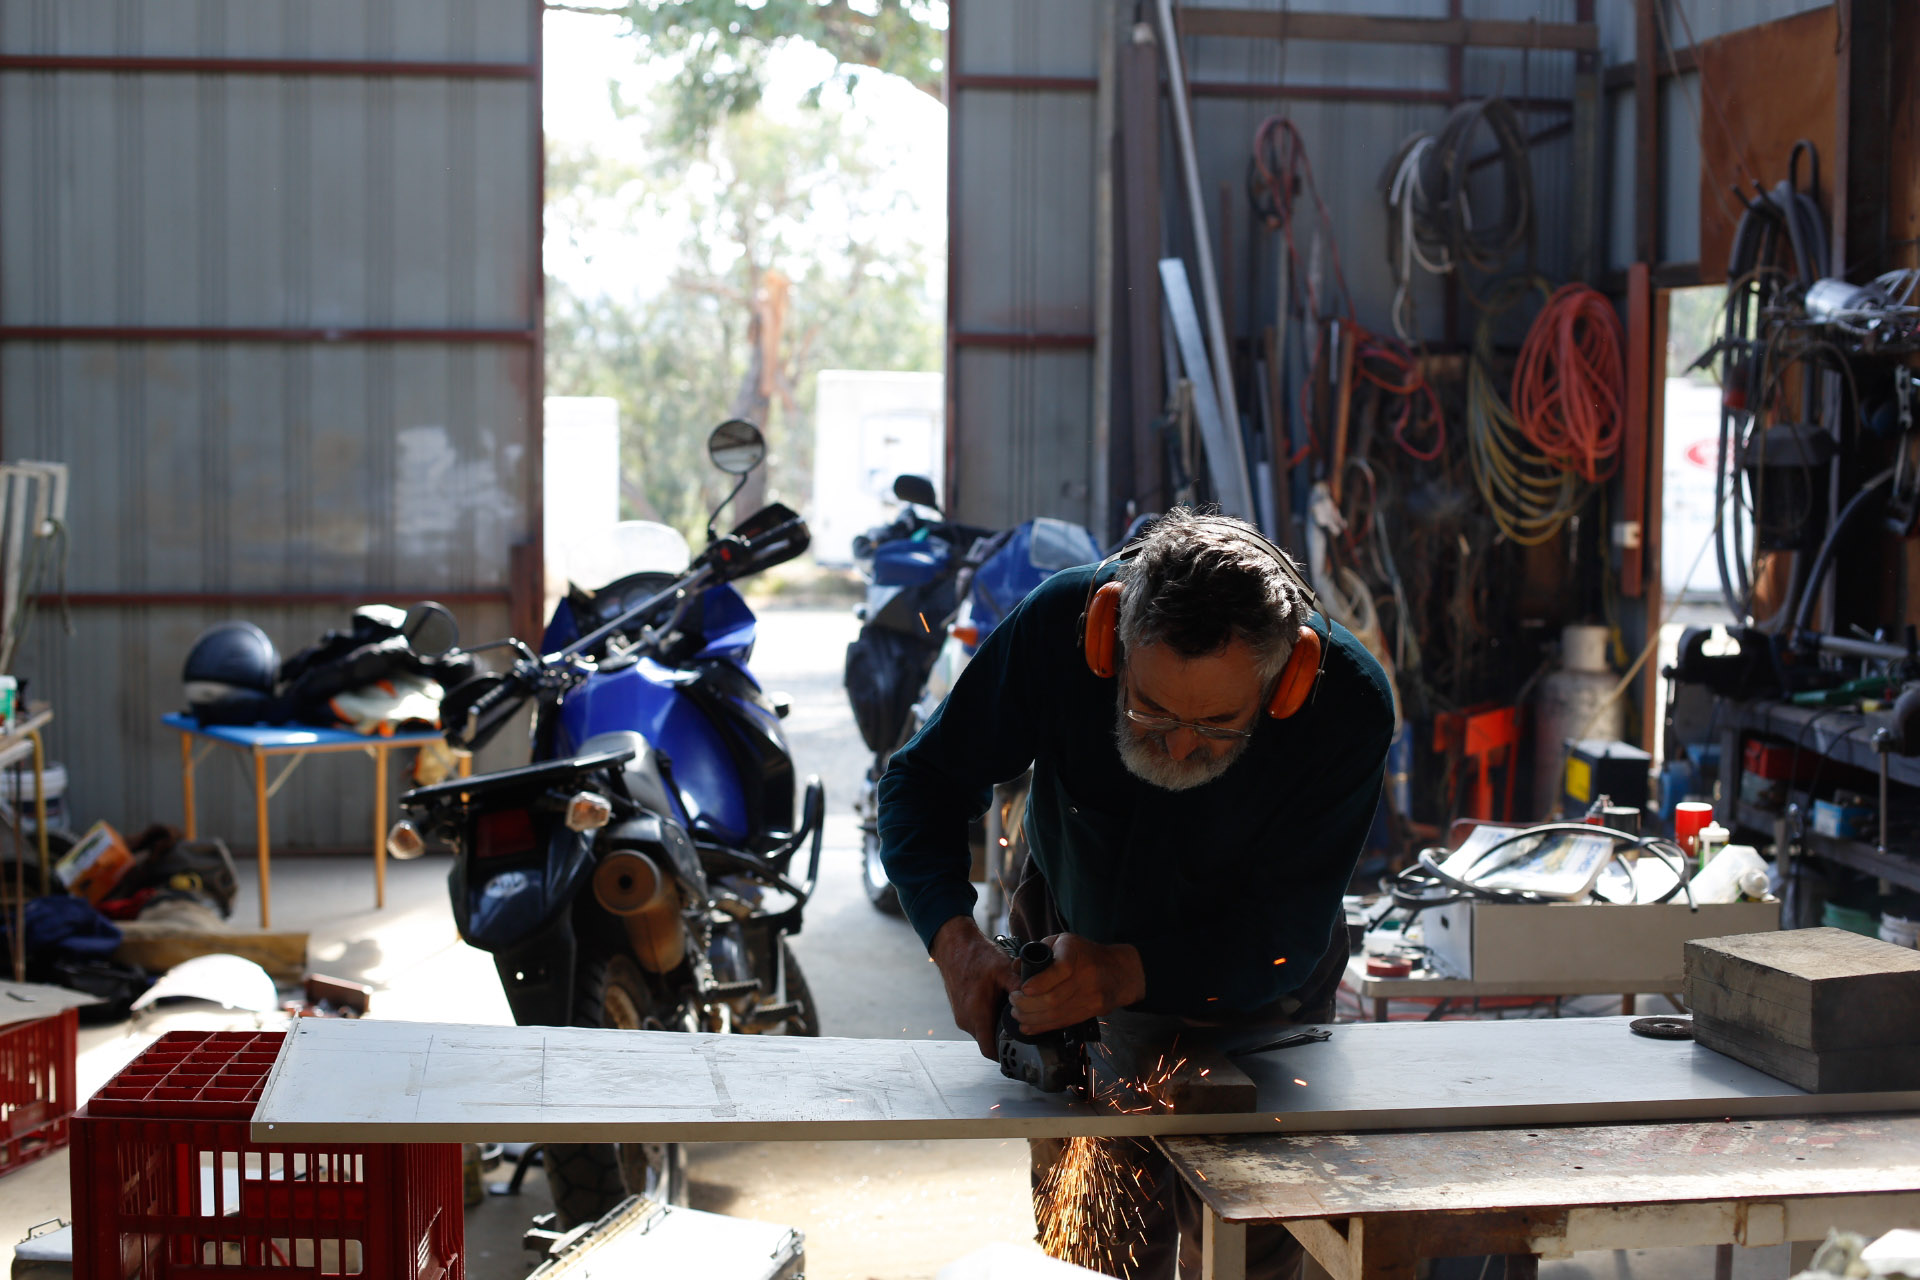
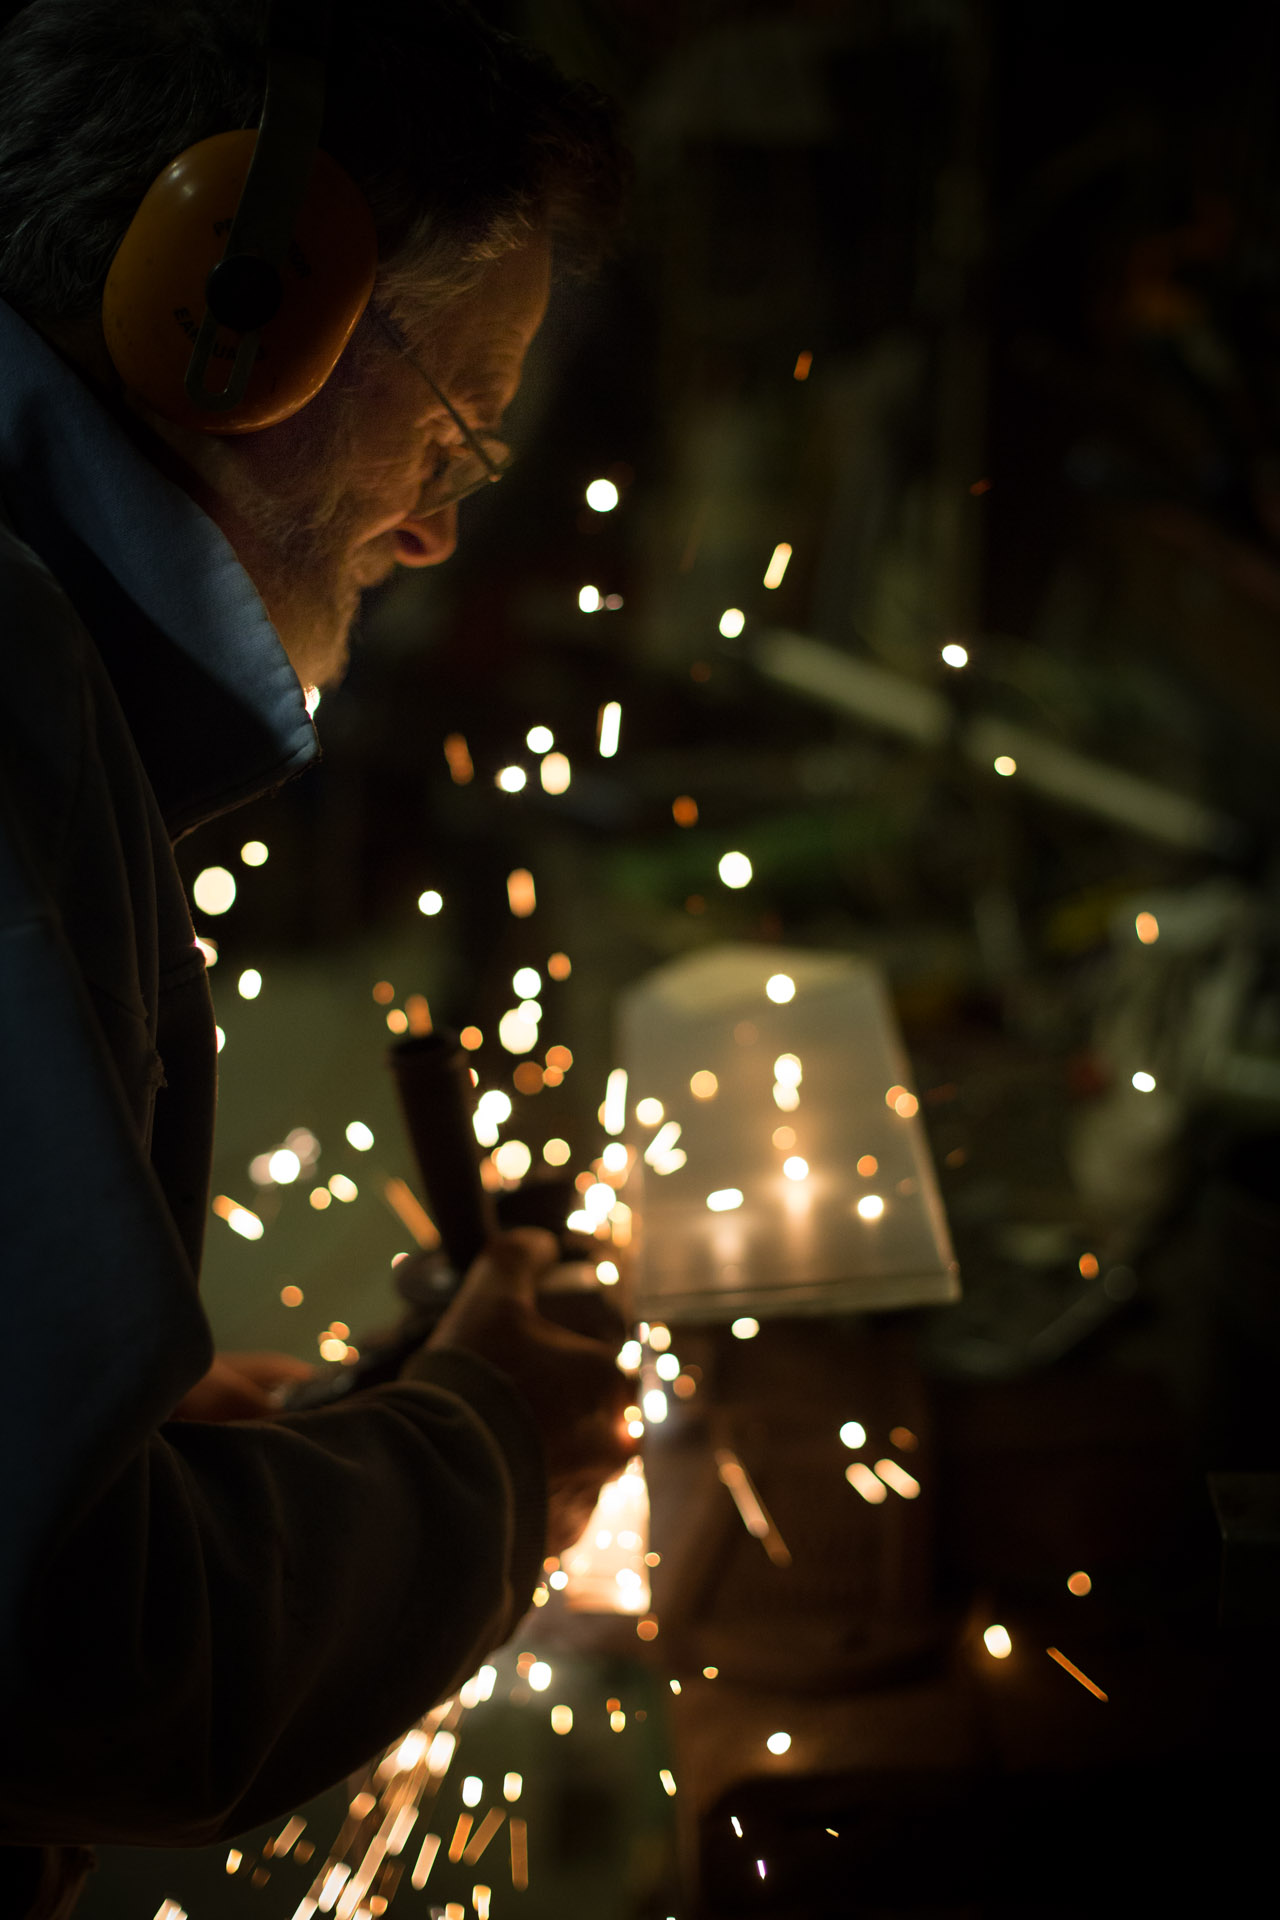
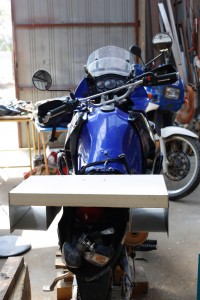
The shot above was taken only shortly before I left on the big trip to Cape York. The inspiration for Version 2 struck late one night not long before I was meant to be leaving for Cape York. I could barely get to sleep with excitement.
The next morning I started early.
Version 2, making a start.
Details of the process.


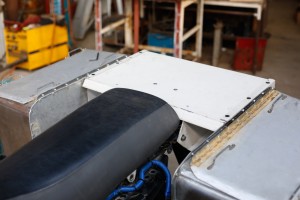
Version 2.0
Note the light weight aluminium braces on the back of the boxes. They are really important to stop side ways movement and twisting. If the bike is dropped on the side boxes these struts can take a lot of force. Version 2.1 was upgrading the strength of these struts. Having only a little time to test the Version 2.0 left me unsure of how it was going to perform under the stresses of real adventure riding. I put the bike over on its side to see how the braces went but this doesn’t come close to a real stack where the bike lands hard on the boxes.
V2.1 in action. Easter 2013 with Dave before the poor bugger broke his foot. Wish you were here mate. One of the new steel braces is visible with my square handled aluminium entrenchment tool strapped to it.
The upgraded struts of Version 2.1 didn’t last long despite being a much stronger set of struts. I could lift the bike using the 18mm steel tubing that I used in V2.1. One sticking point with V2.0 had been the main mounting brackets. I wasn’t happy with them and they fatigued quickly being aluminium under heavy repeated stress. V2.1 saw new steel quick release brackets. Again I wasn’t entirely happy with the V2.1 brackets. This was a really tough design problem. I recall one particular time when I spent a whole hour standing there looking at the system, just thinking and designing in my head by the end of which I was no closer to a design that I was happy with. It was really challenging to create a strong, light weight bracket that was going to take the load, be quick release and last the miles.
On the ill fated Easter Enoch’s Point trip, that Dave broke his foot on, Mawson gave up the ghost. Hmm, first troubles with the ol beast. To cut a long story short, I ended up spending 5 days with a friend Eric Dodge. A very generous man with a wealth of engineering and electrical knowledge who I have know since I was knee high to a grass hopper.
Those five days saw a full check of the electrical systems on Mawson, shielding of the entire wiring loom, an electrical circuit diagram created and an entirely new rear luggage and mounts for the Sunken Luggage System.
The current and final version of the Sunken Luggage System, V2.2, I think of as V2Dodge in honour of the significant part Eric played in solving one last piece of the puzzle that had me stumped, a strong mounting system for the V2 side boxes.

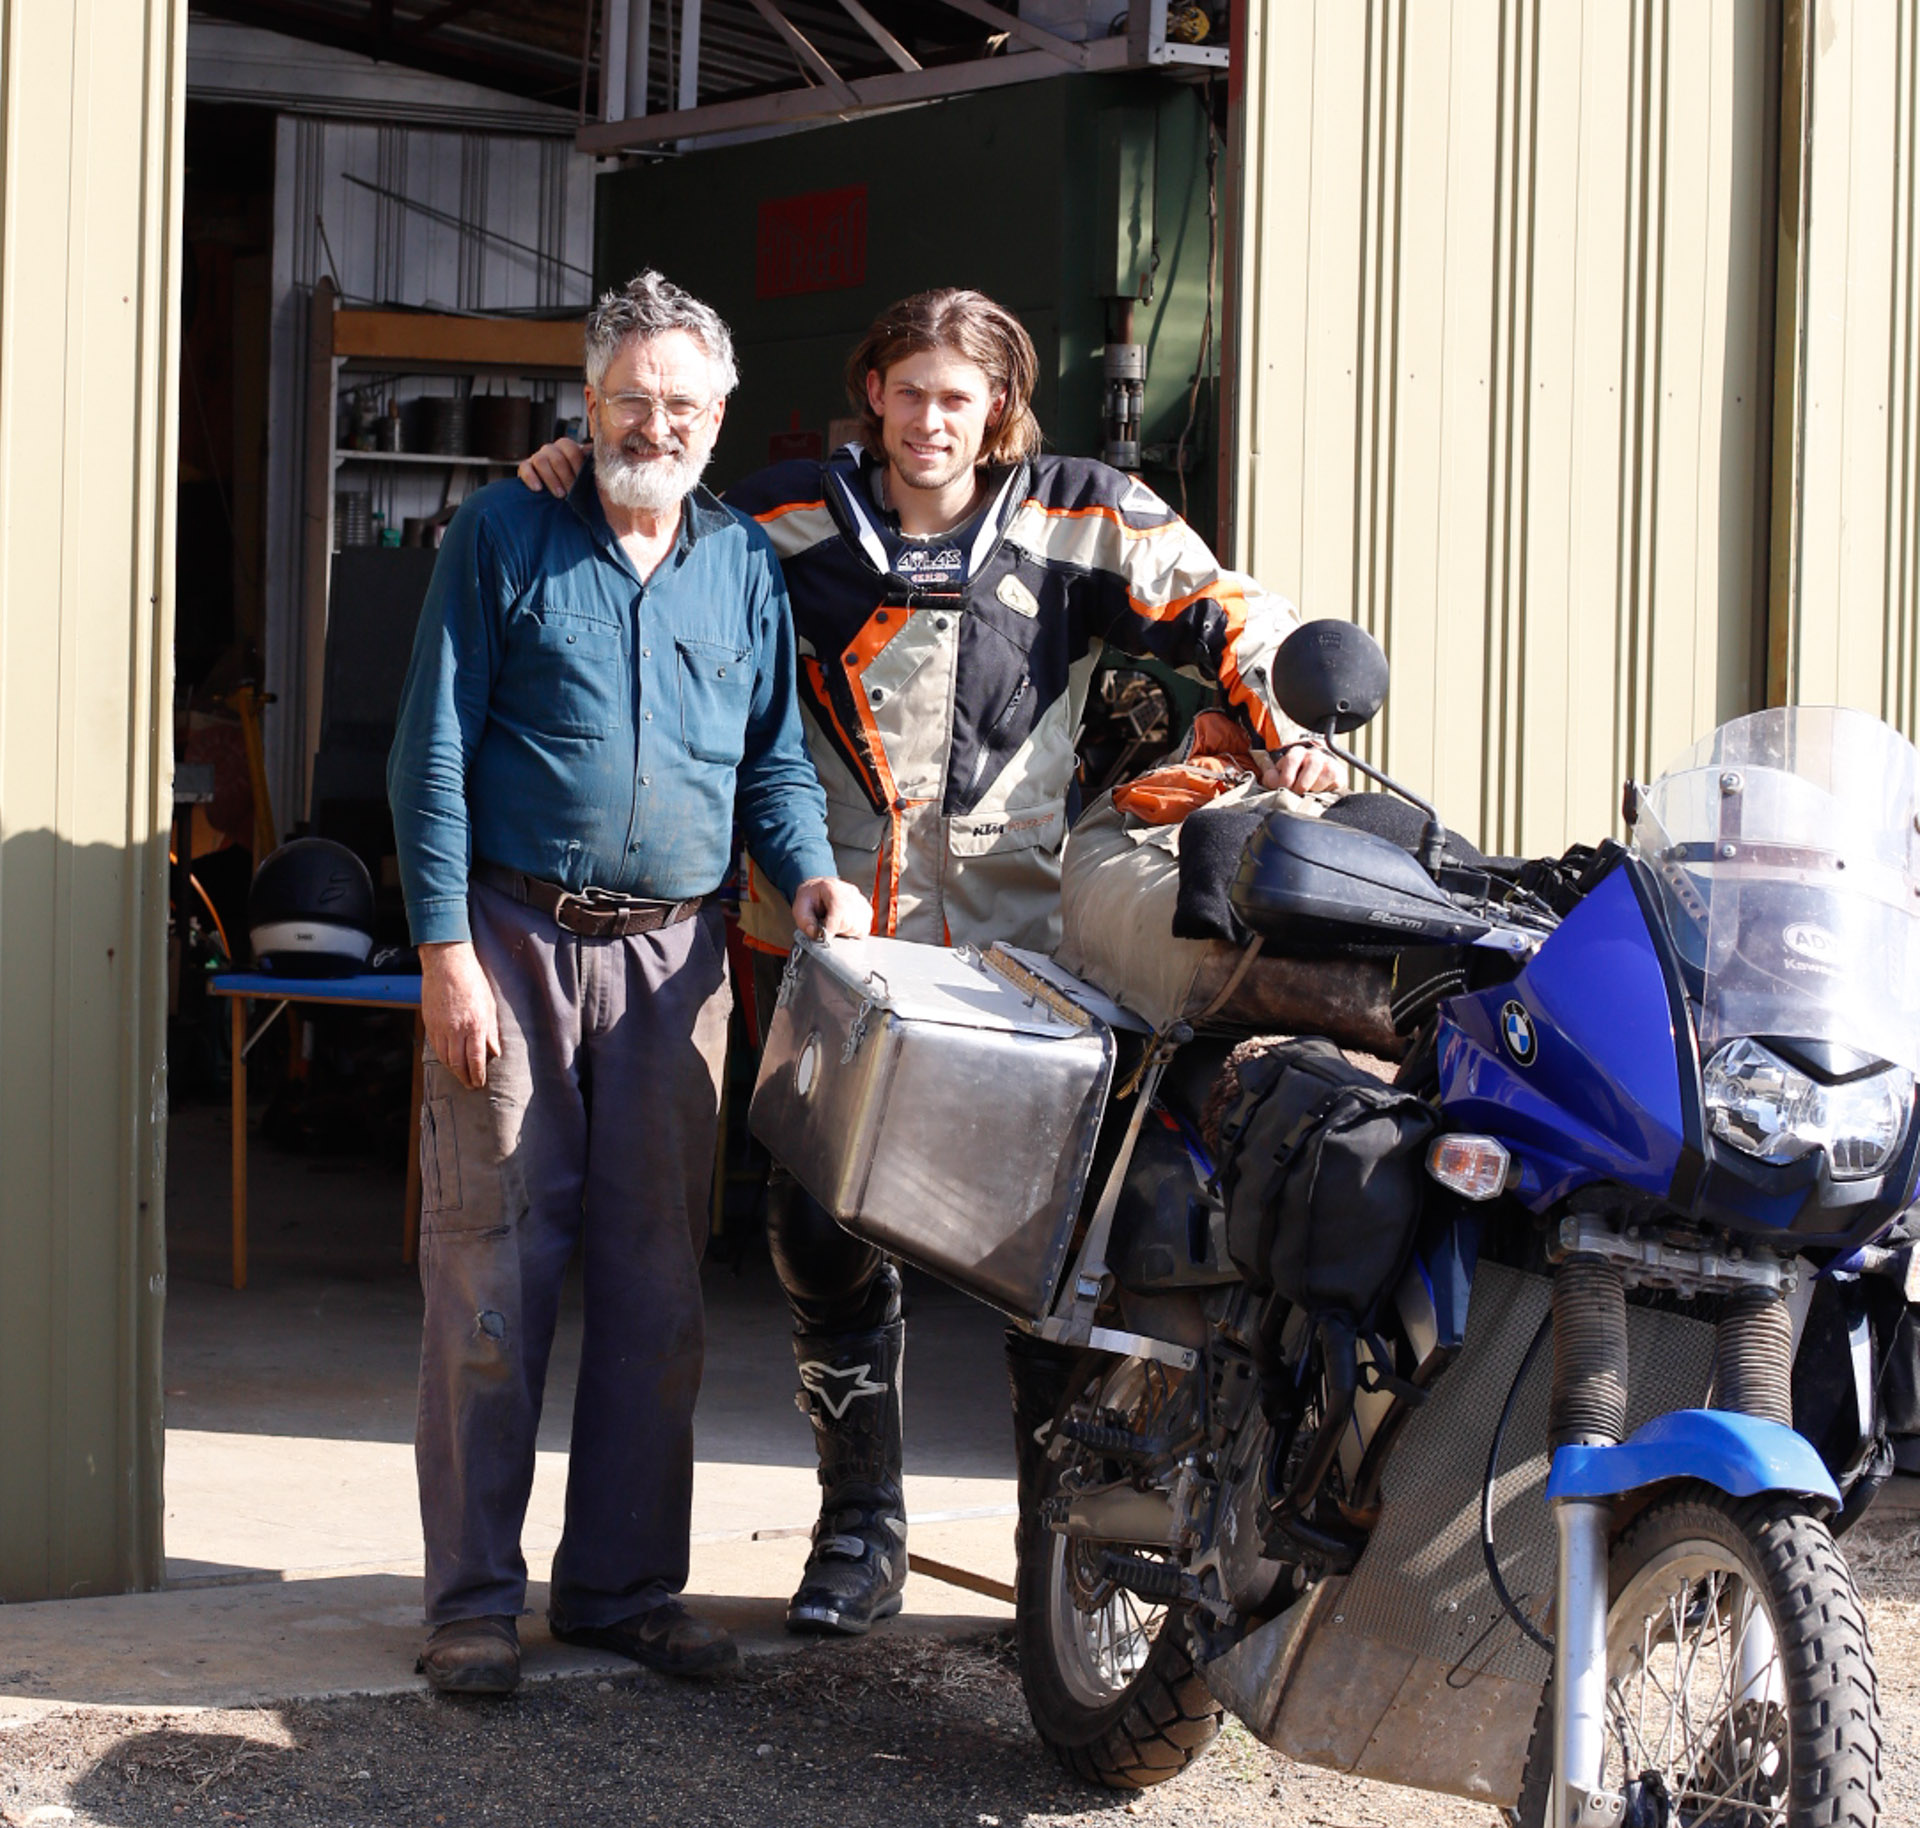
Mawson, after five days in the Dodge workshop. Thank you Eric!
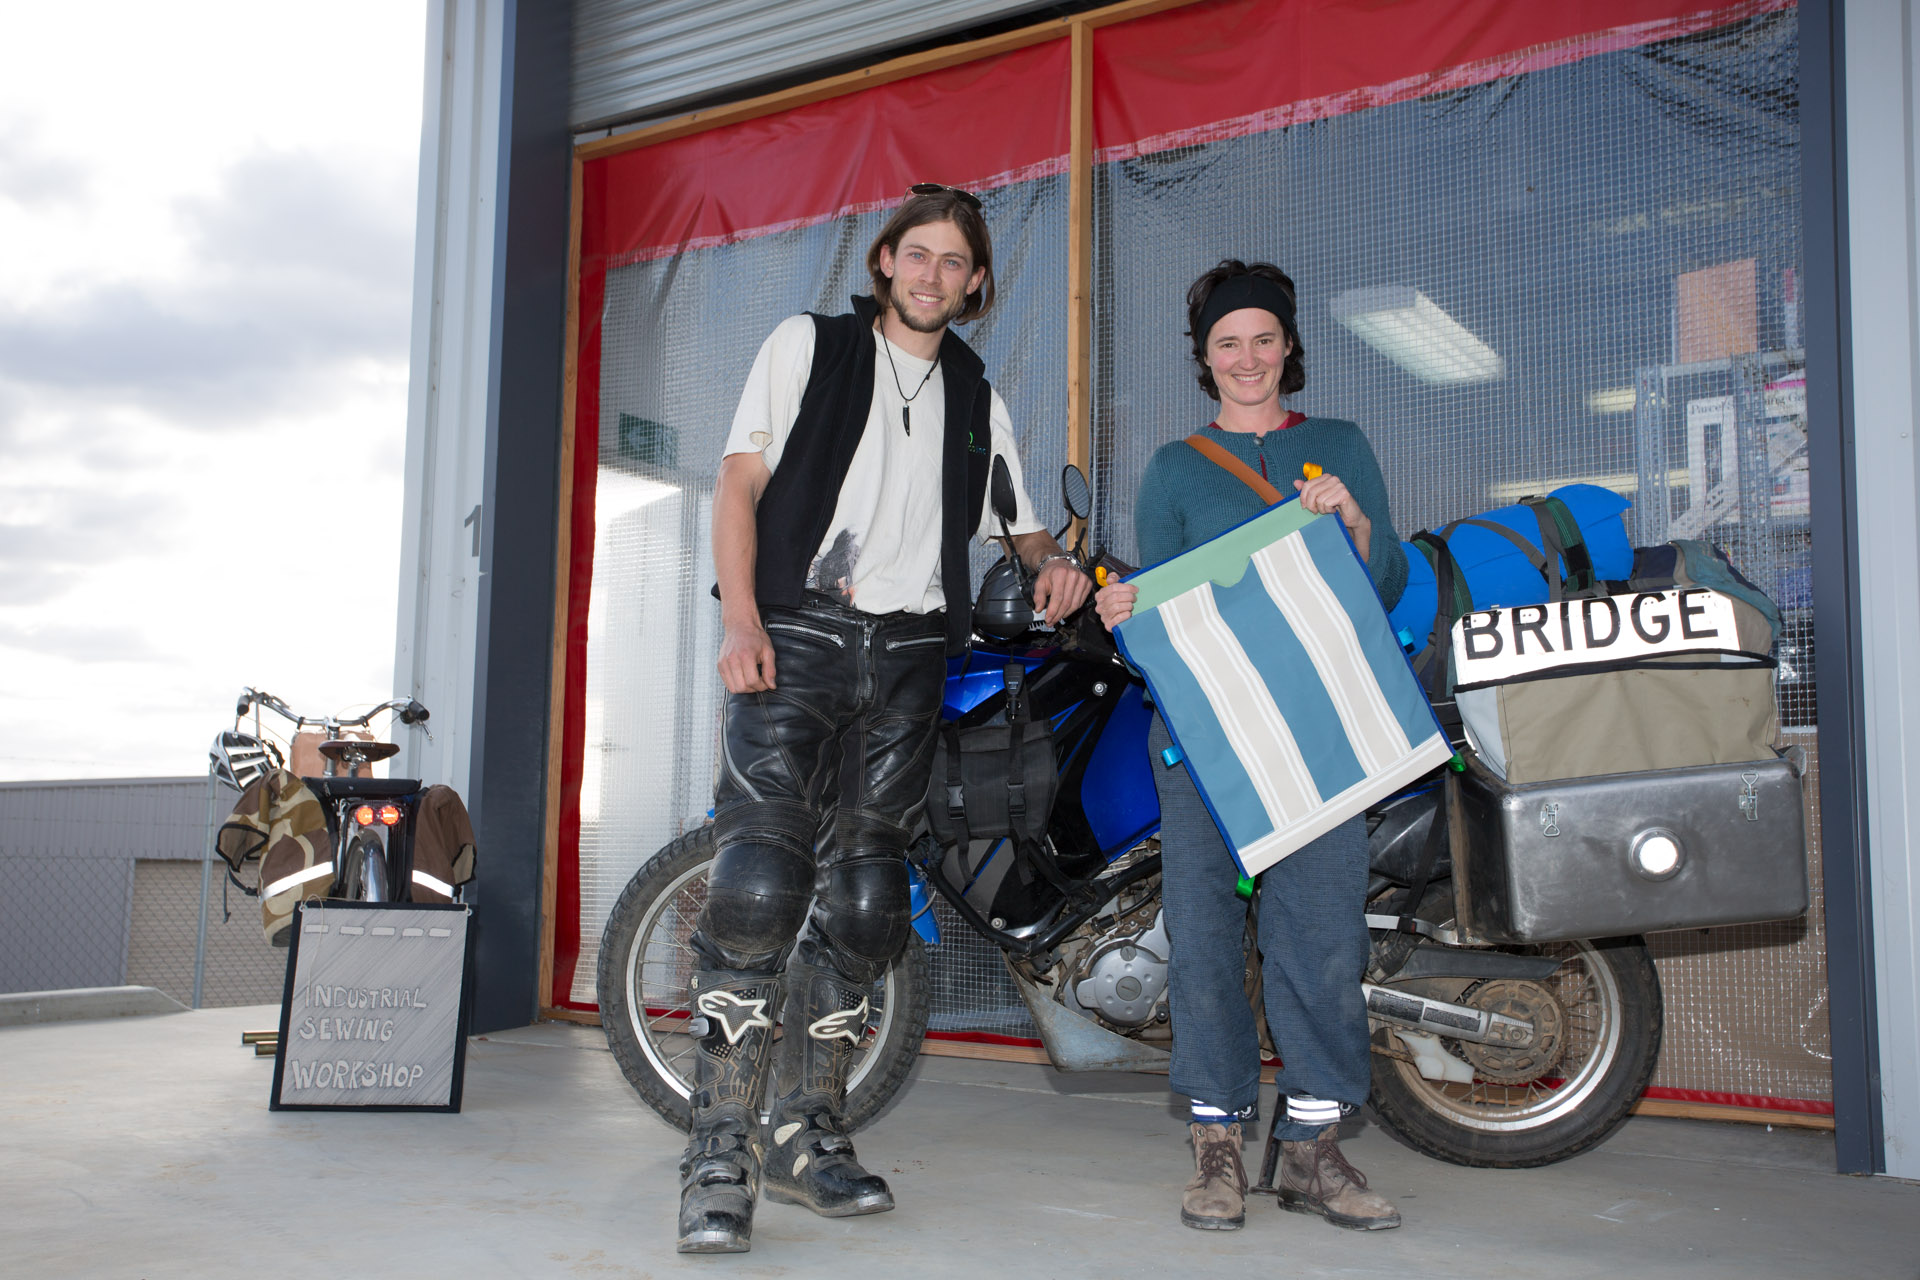
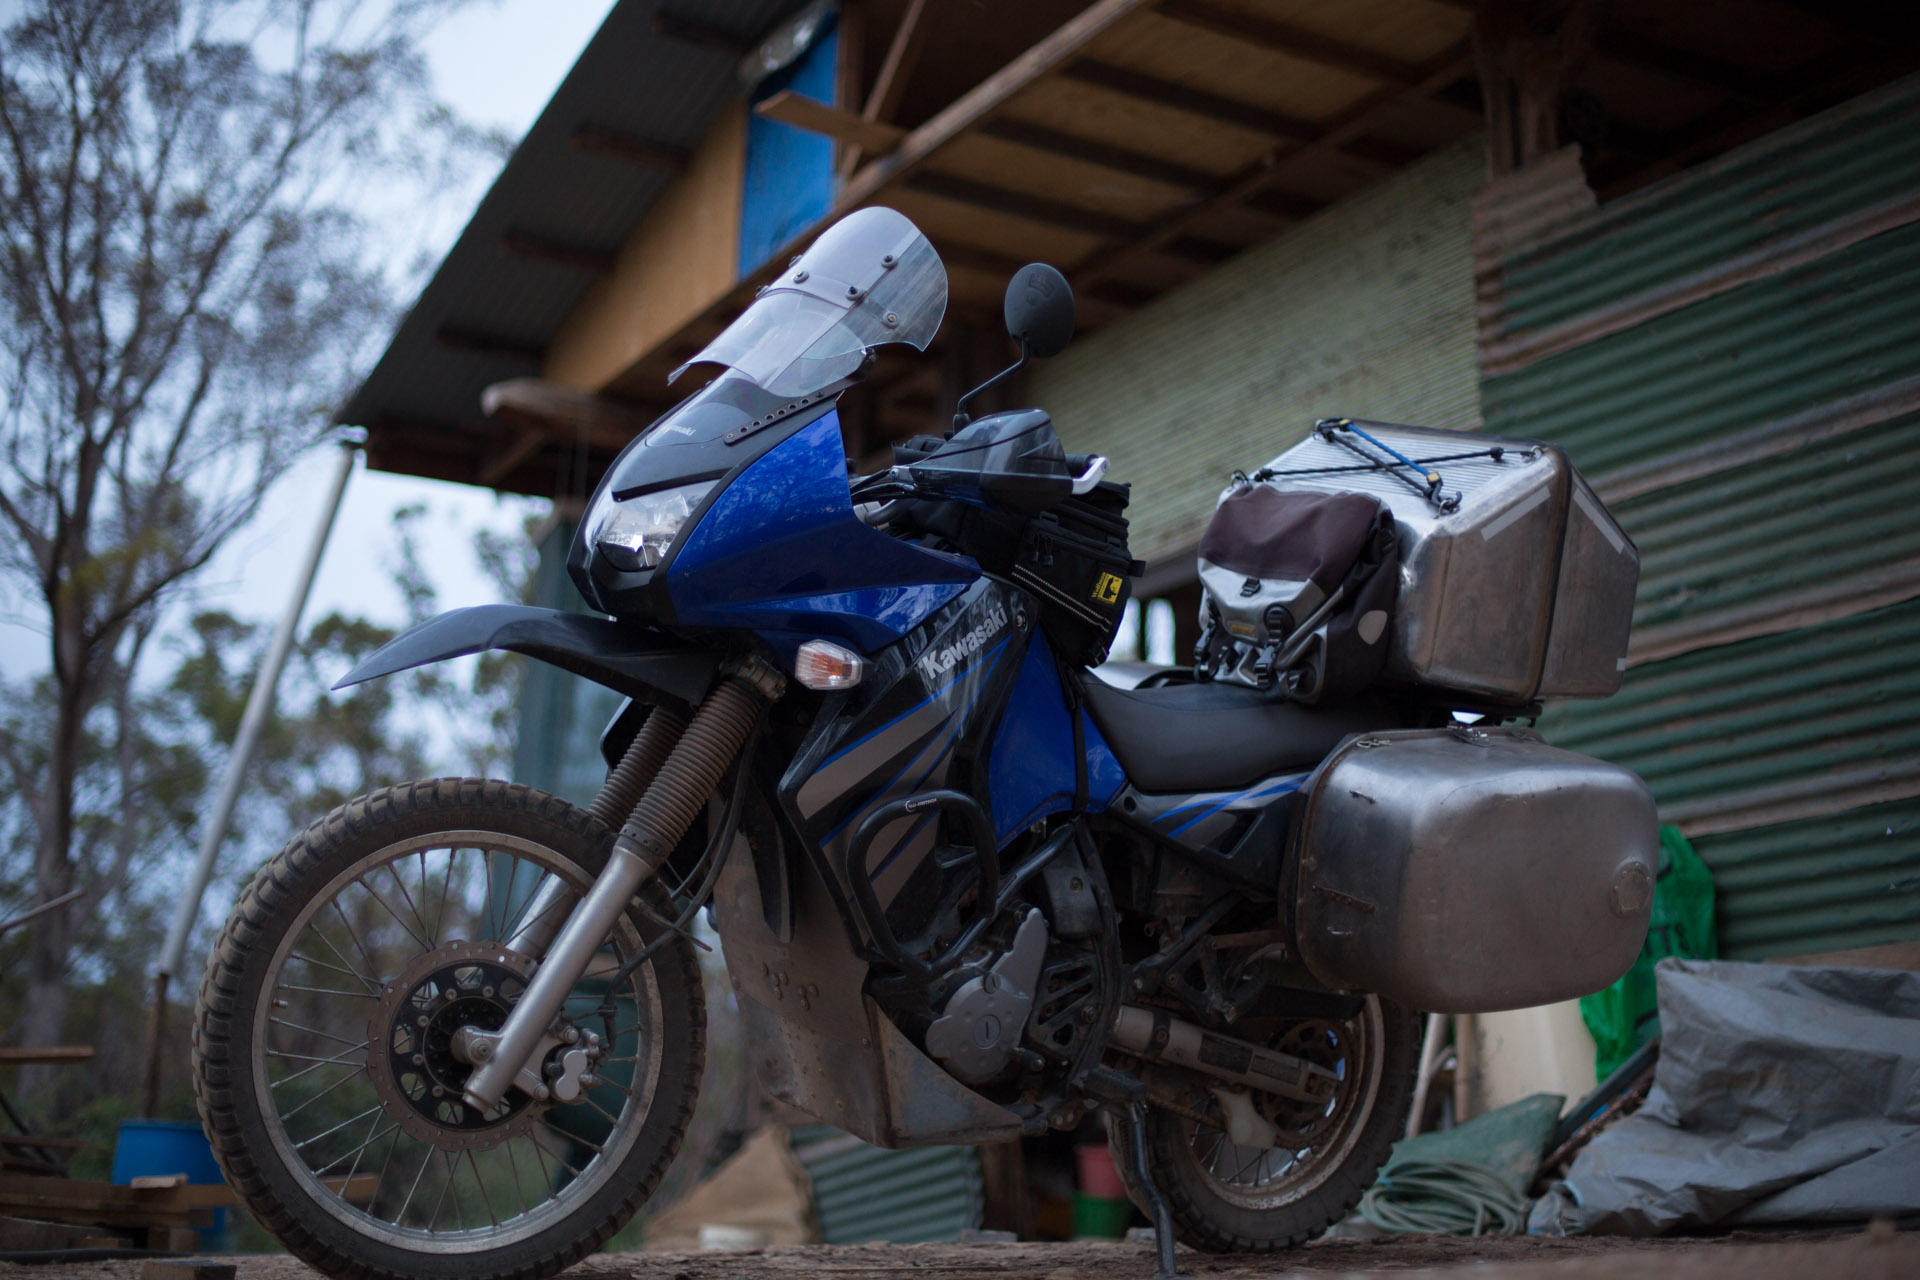
The final touches to the Sunken Luggage System was to have liner bags sewn. Cathy Parry of the Industrial Sewing Workshop, Castlemaine, with custom made canvas liner bags and custom fuel bladder protective bags.
These additions have been priceless. The liner bags have been so useful and are standing up to every day use very well.
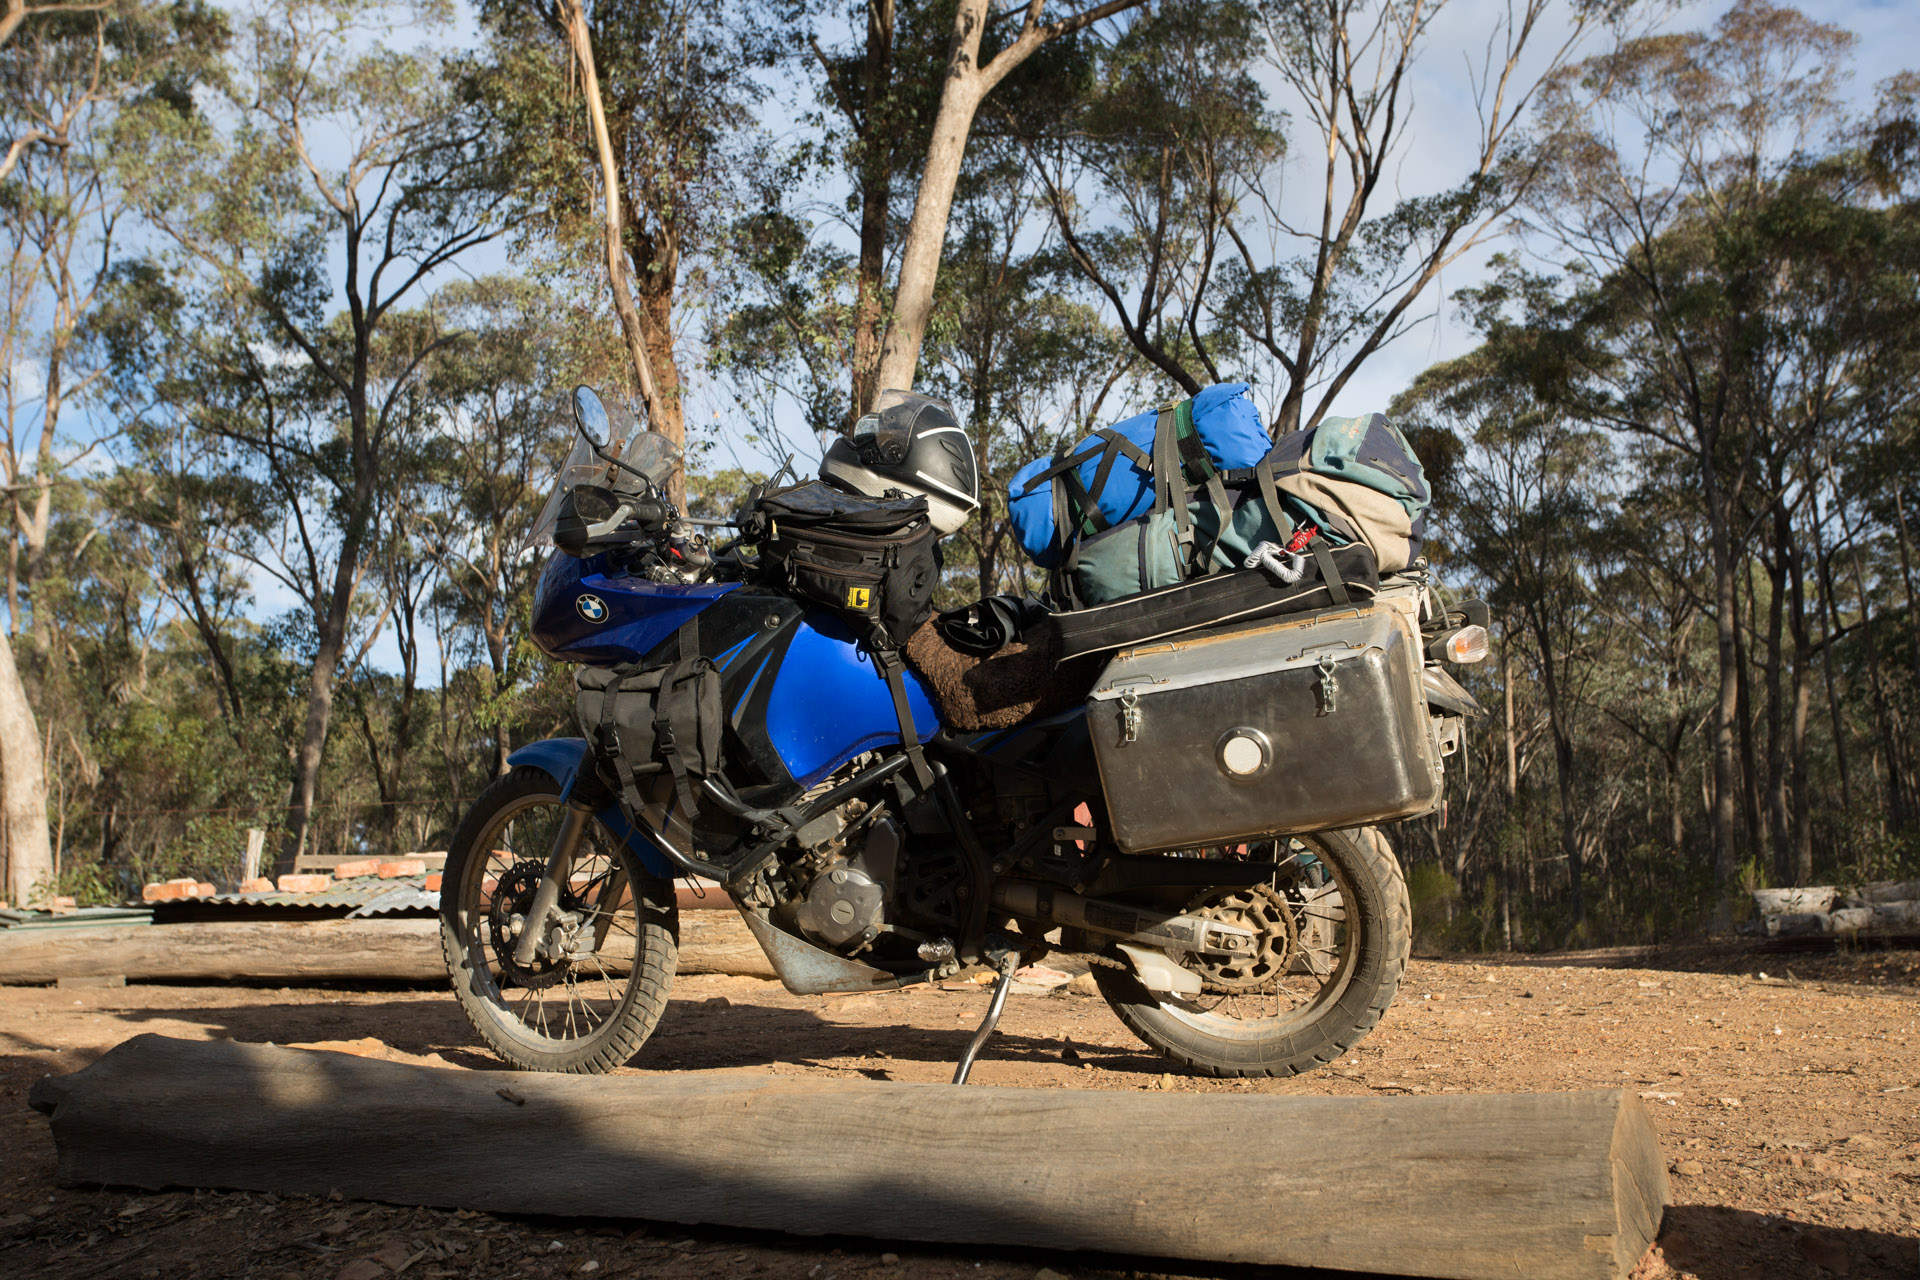
V2D loaded and ready to depart for Cape York.
3 Responses to Sinking Mawson